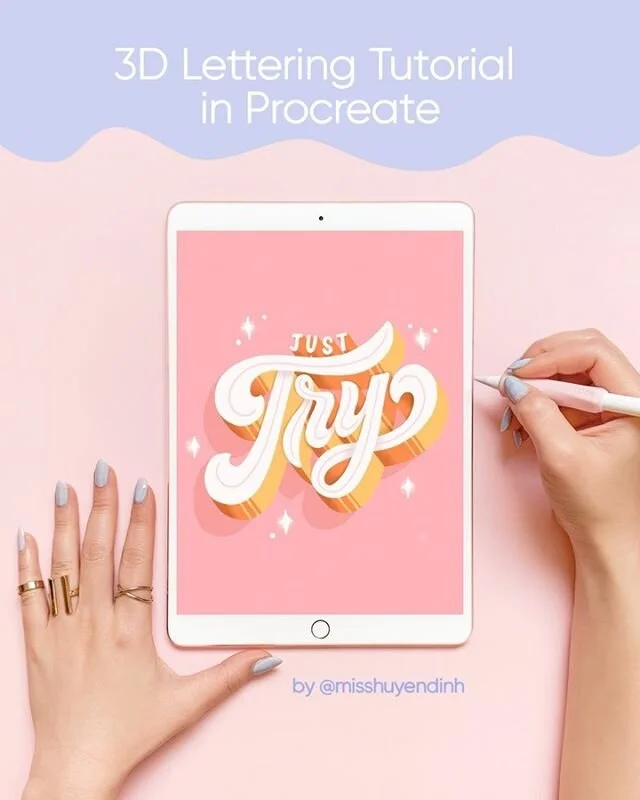

In this tutorial, you’ll learn how to do a makeover for your lettering in Procreate by adding dimension to it. I will break this tutorial into 2 main parts: BASIC 3D TYPE technique & ADVANCED SHADING technique. It would be helpful if you are familiar with Procreate’s interface before starting this tutorial.
If it is easier for you to have a layered Procreate file to follow this tutorial, you can download it HERE.
If you’re interested in learning from me, sign up for my newsletter below to get first dibs on juicy freebie, sales, and creative tips.
BASIC 3D TYPE TECHNIQUE
STEP 1: Create 3D part for the text
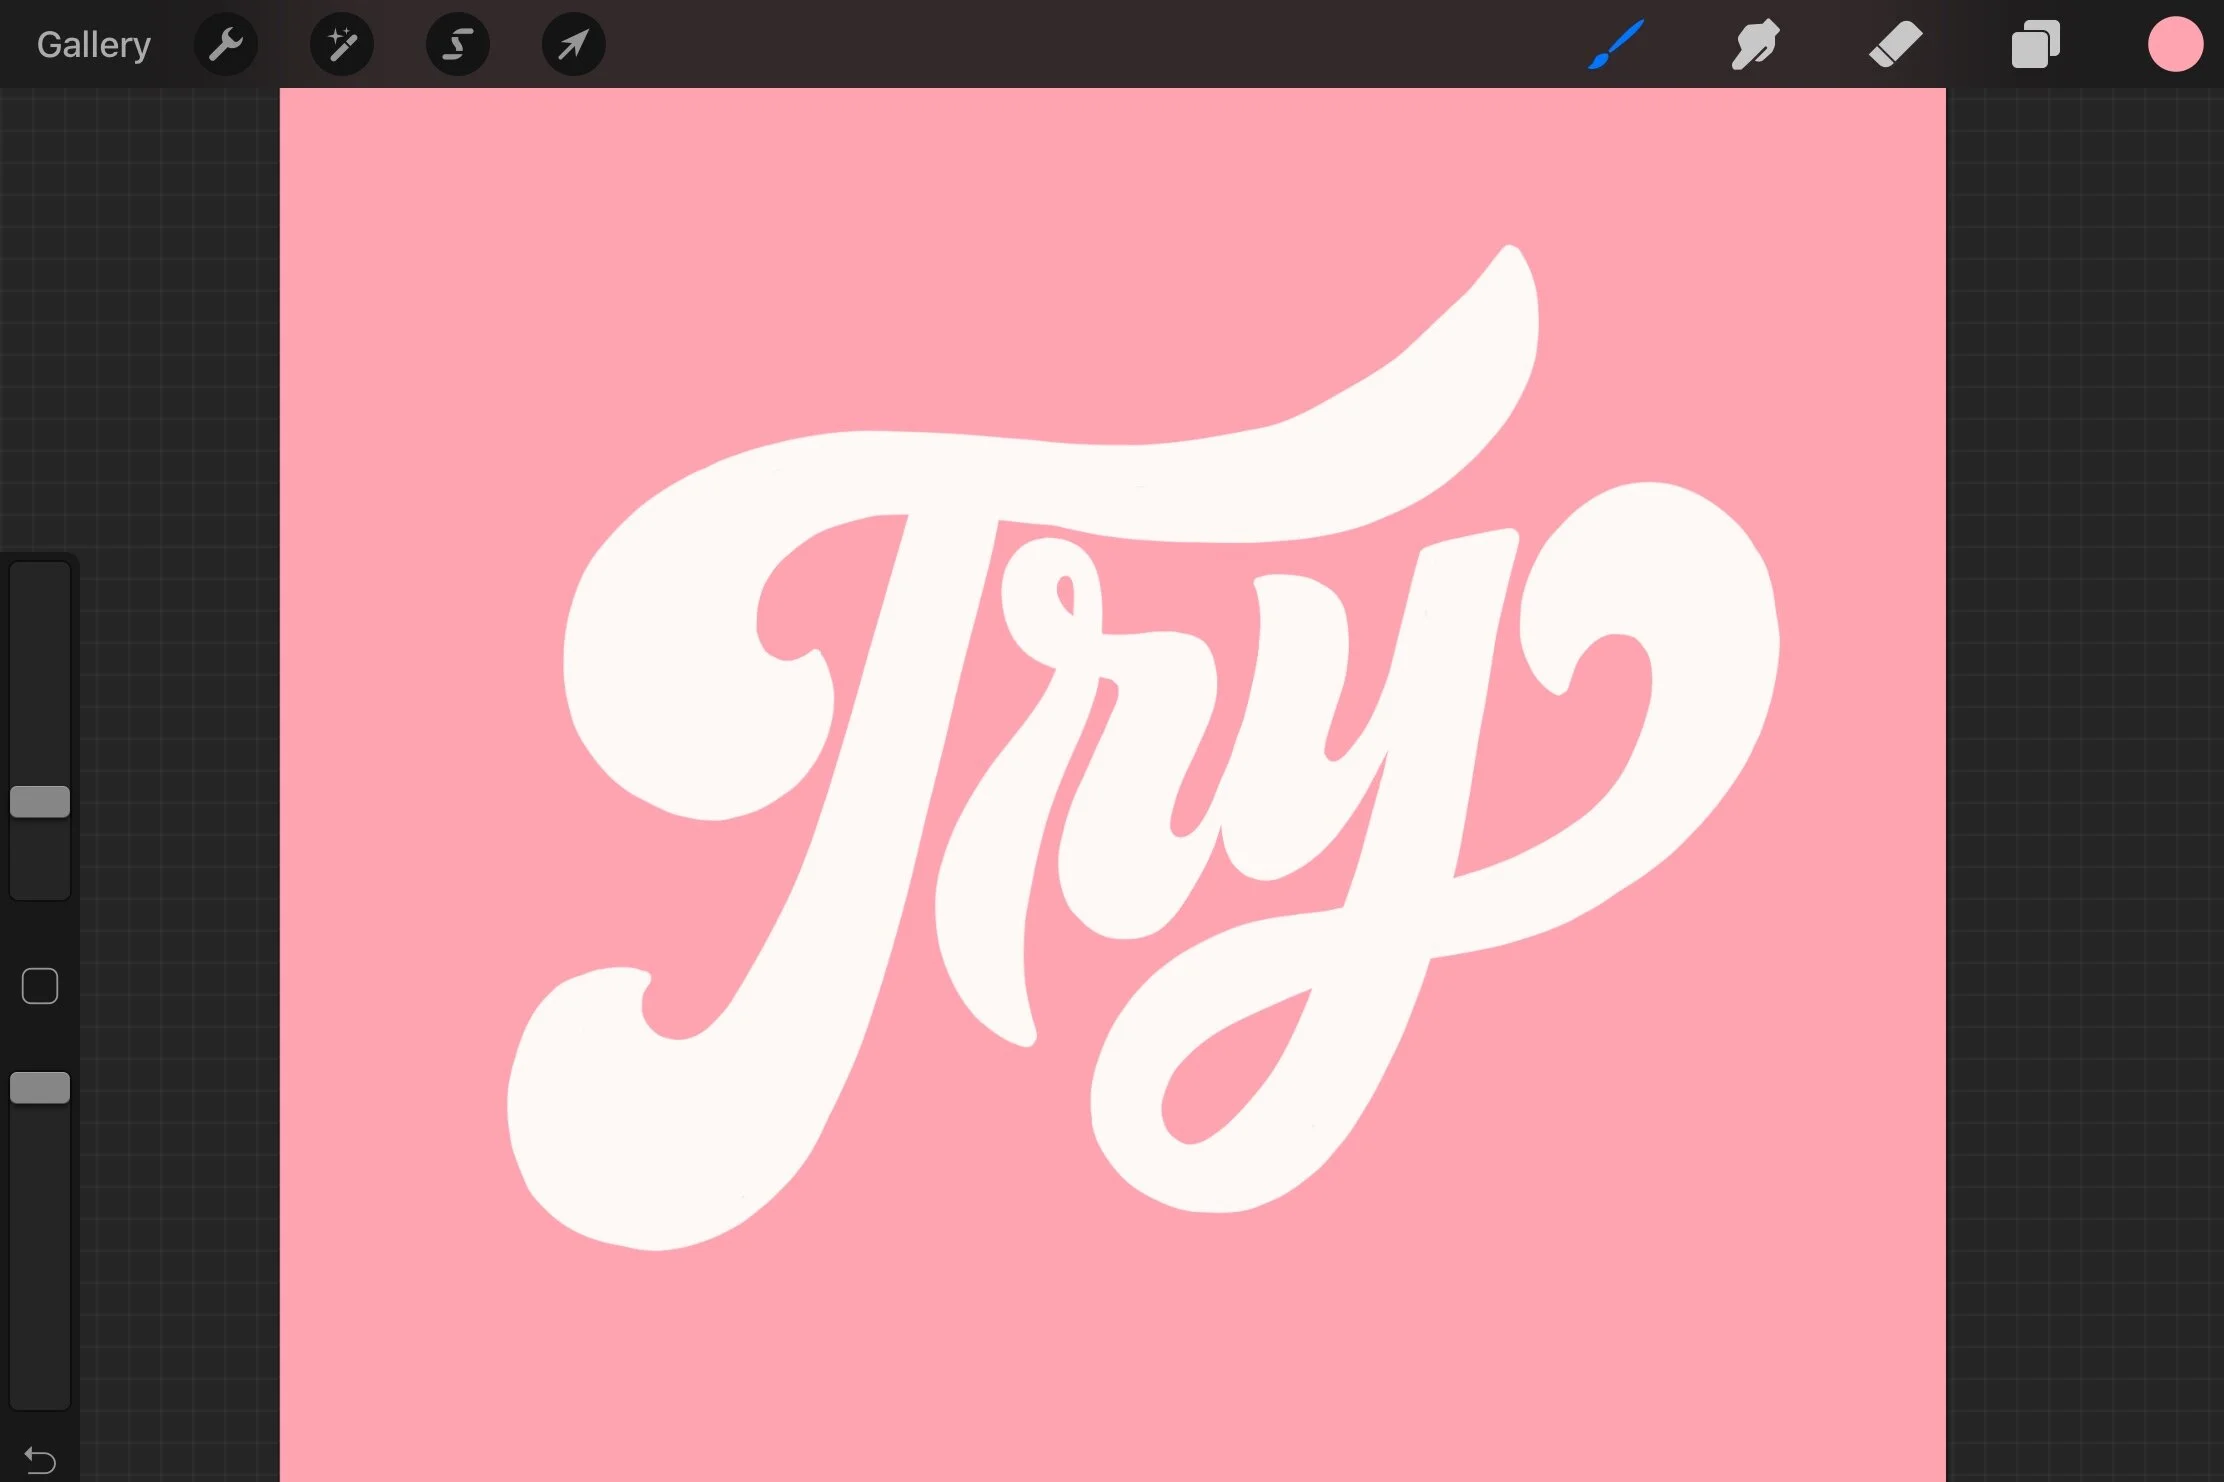
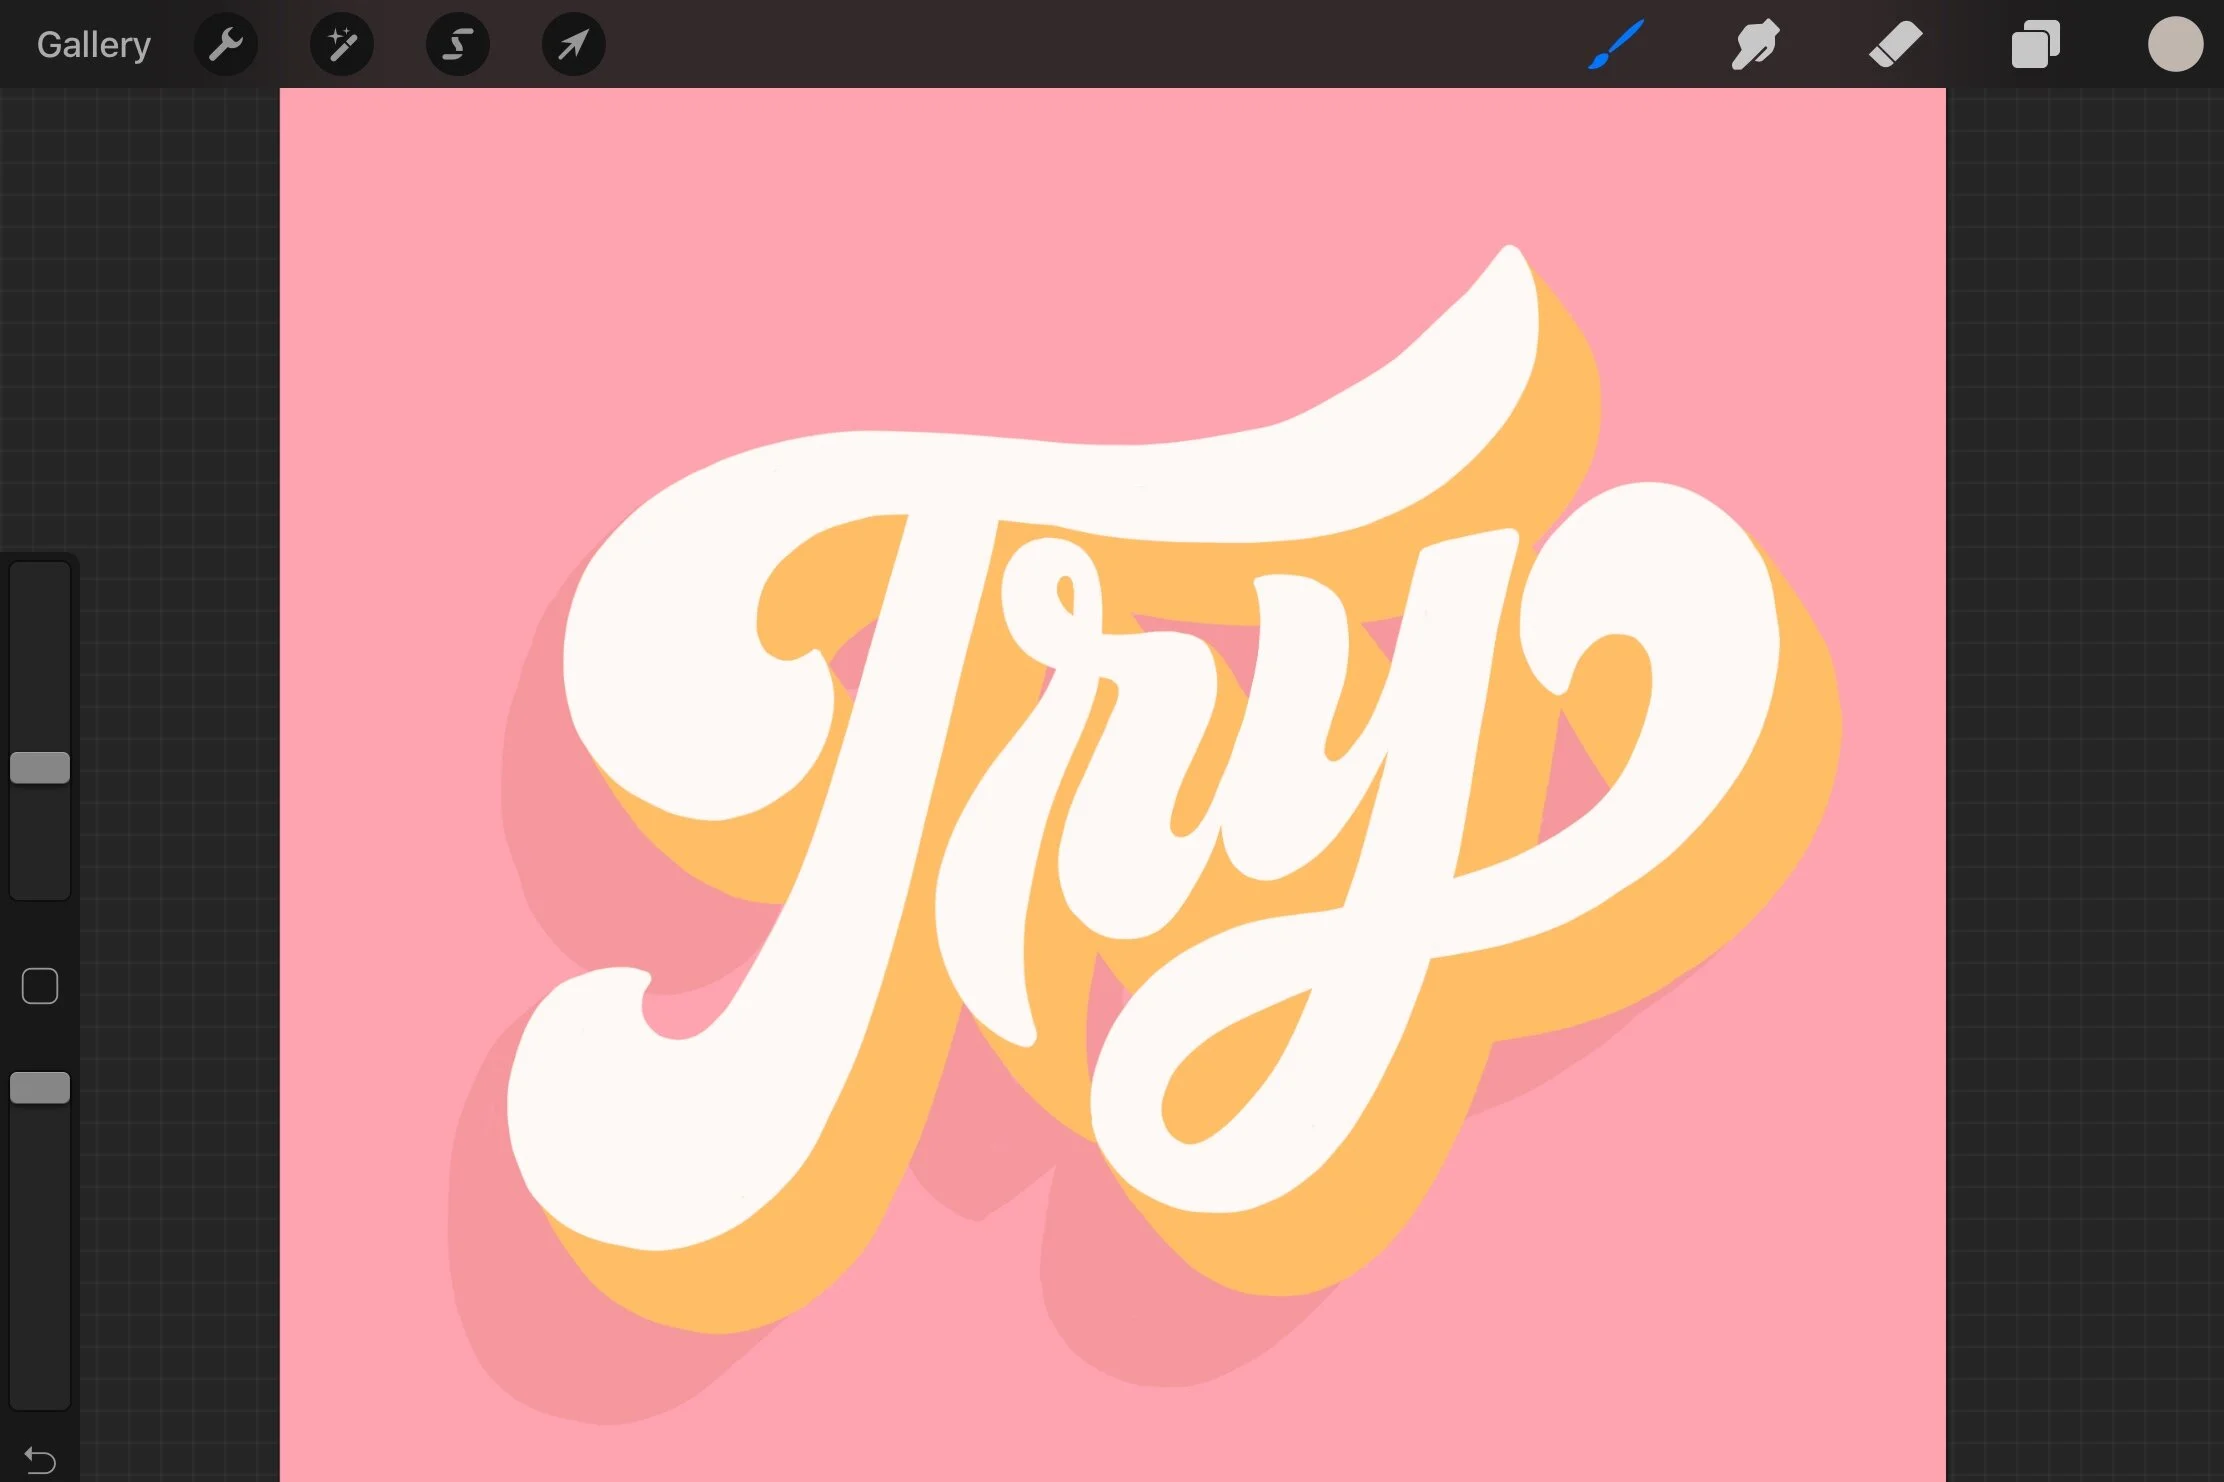
Start with a color background (not too light) and a white text.
In this tutorial, I draw “TRY” with Studio Pen Brush.
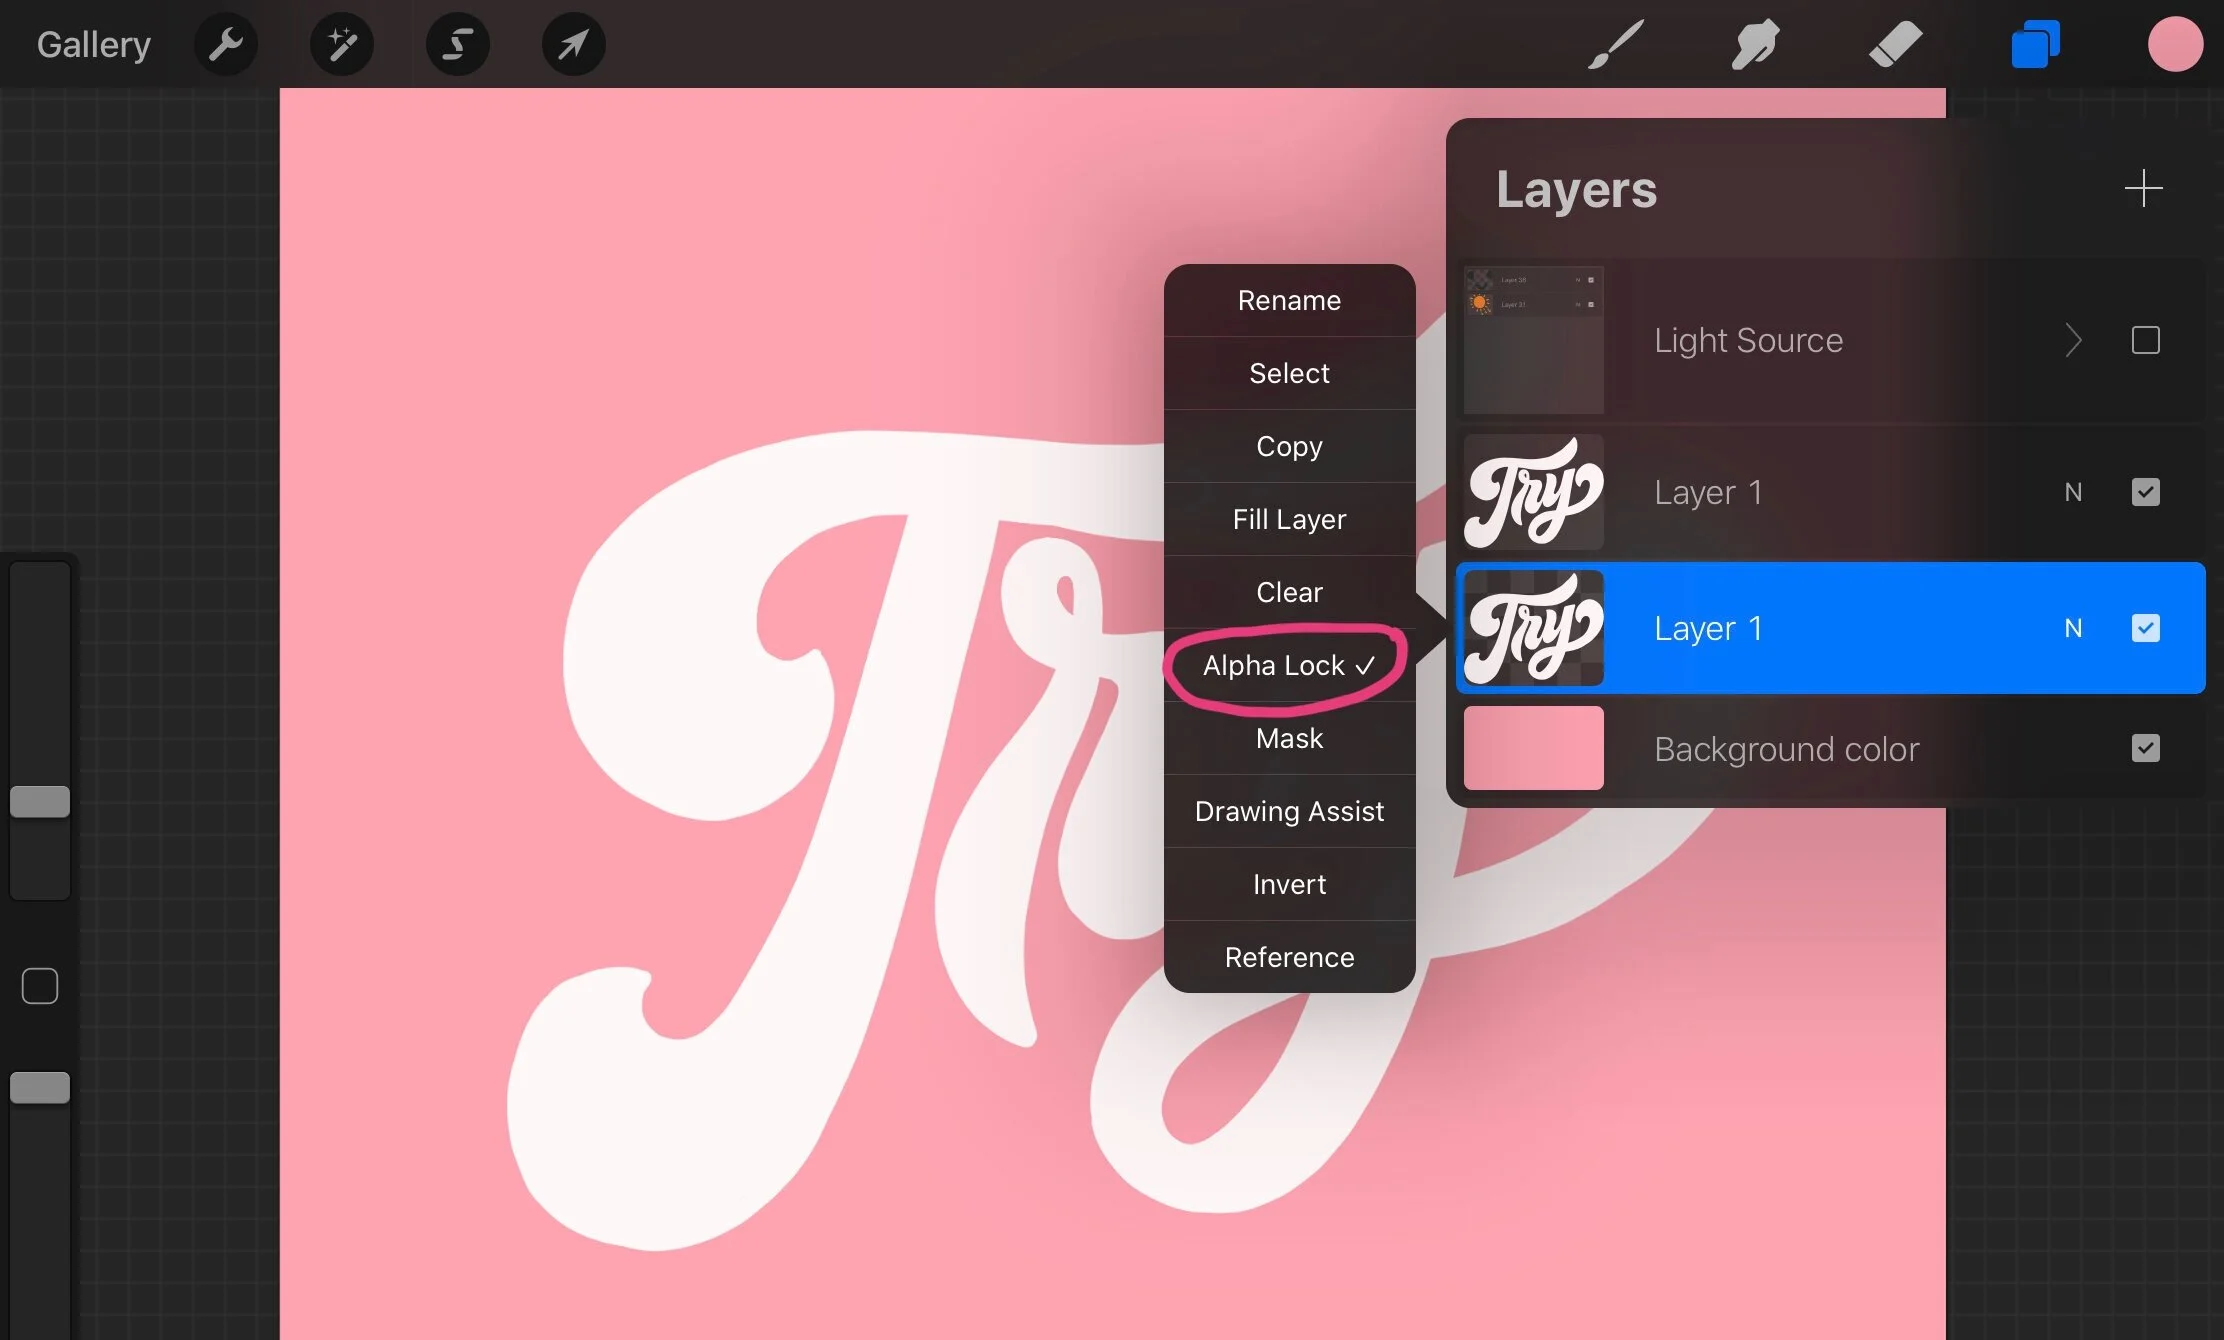
Duplicate the white text layer.
Select the original text layer in the Layers panel. Tap and select Alpha Lock.
You’ll notice the thumbnail’s background converts to a checker pattern background.
Shortcut to Alpha Lock : swipe right on the layer.
Choose color by clicking the circle icon on the top right corner of the menu. I chose yellow.

In the Layers panel, fill layer with the chosen color by tapping, then select Fill layer.
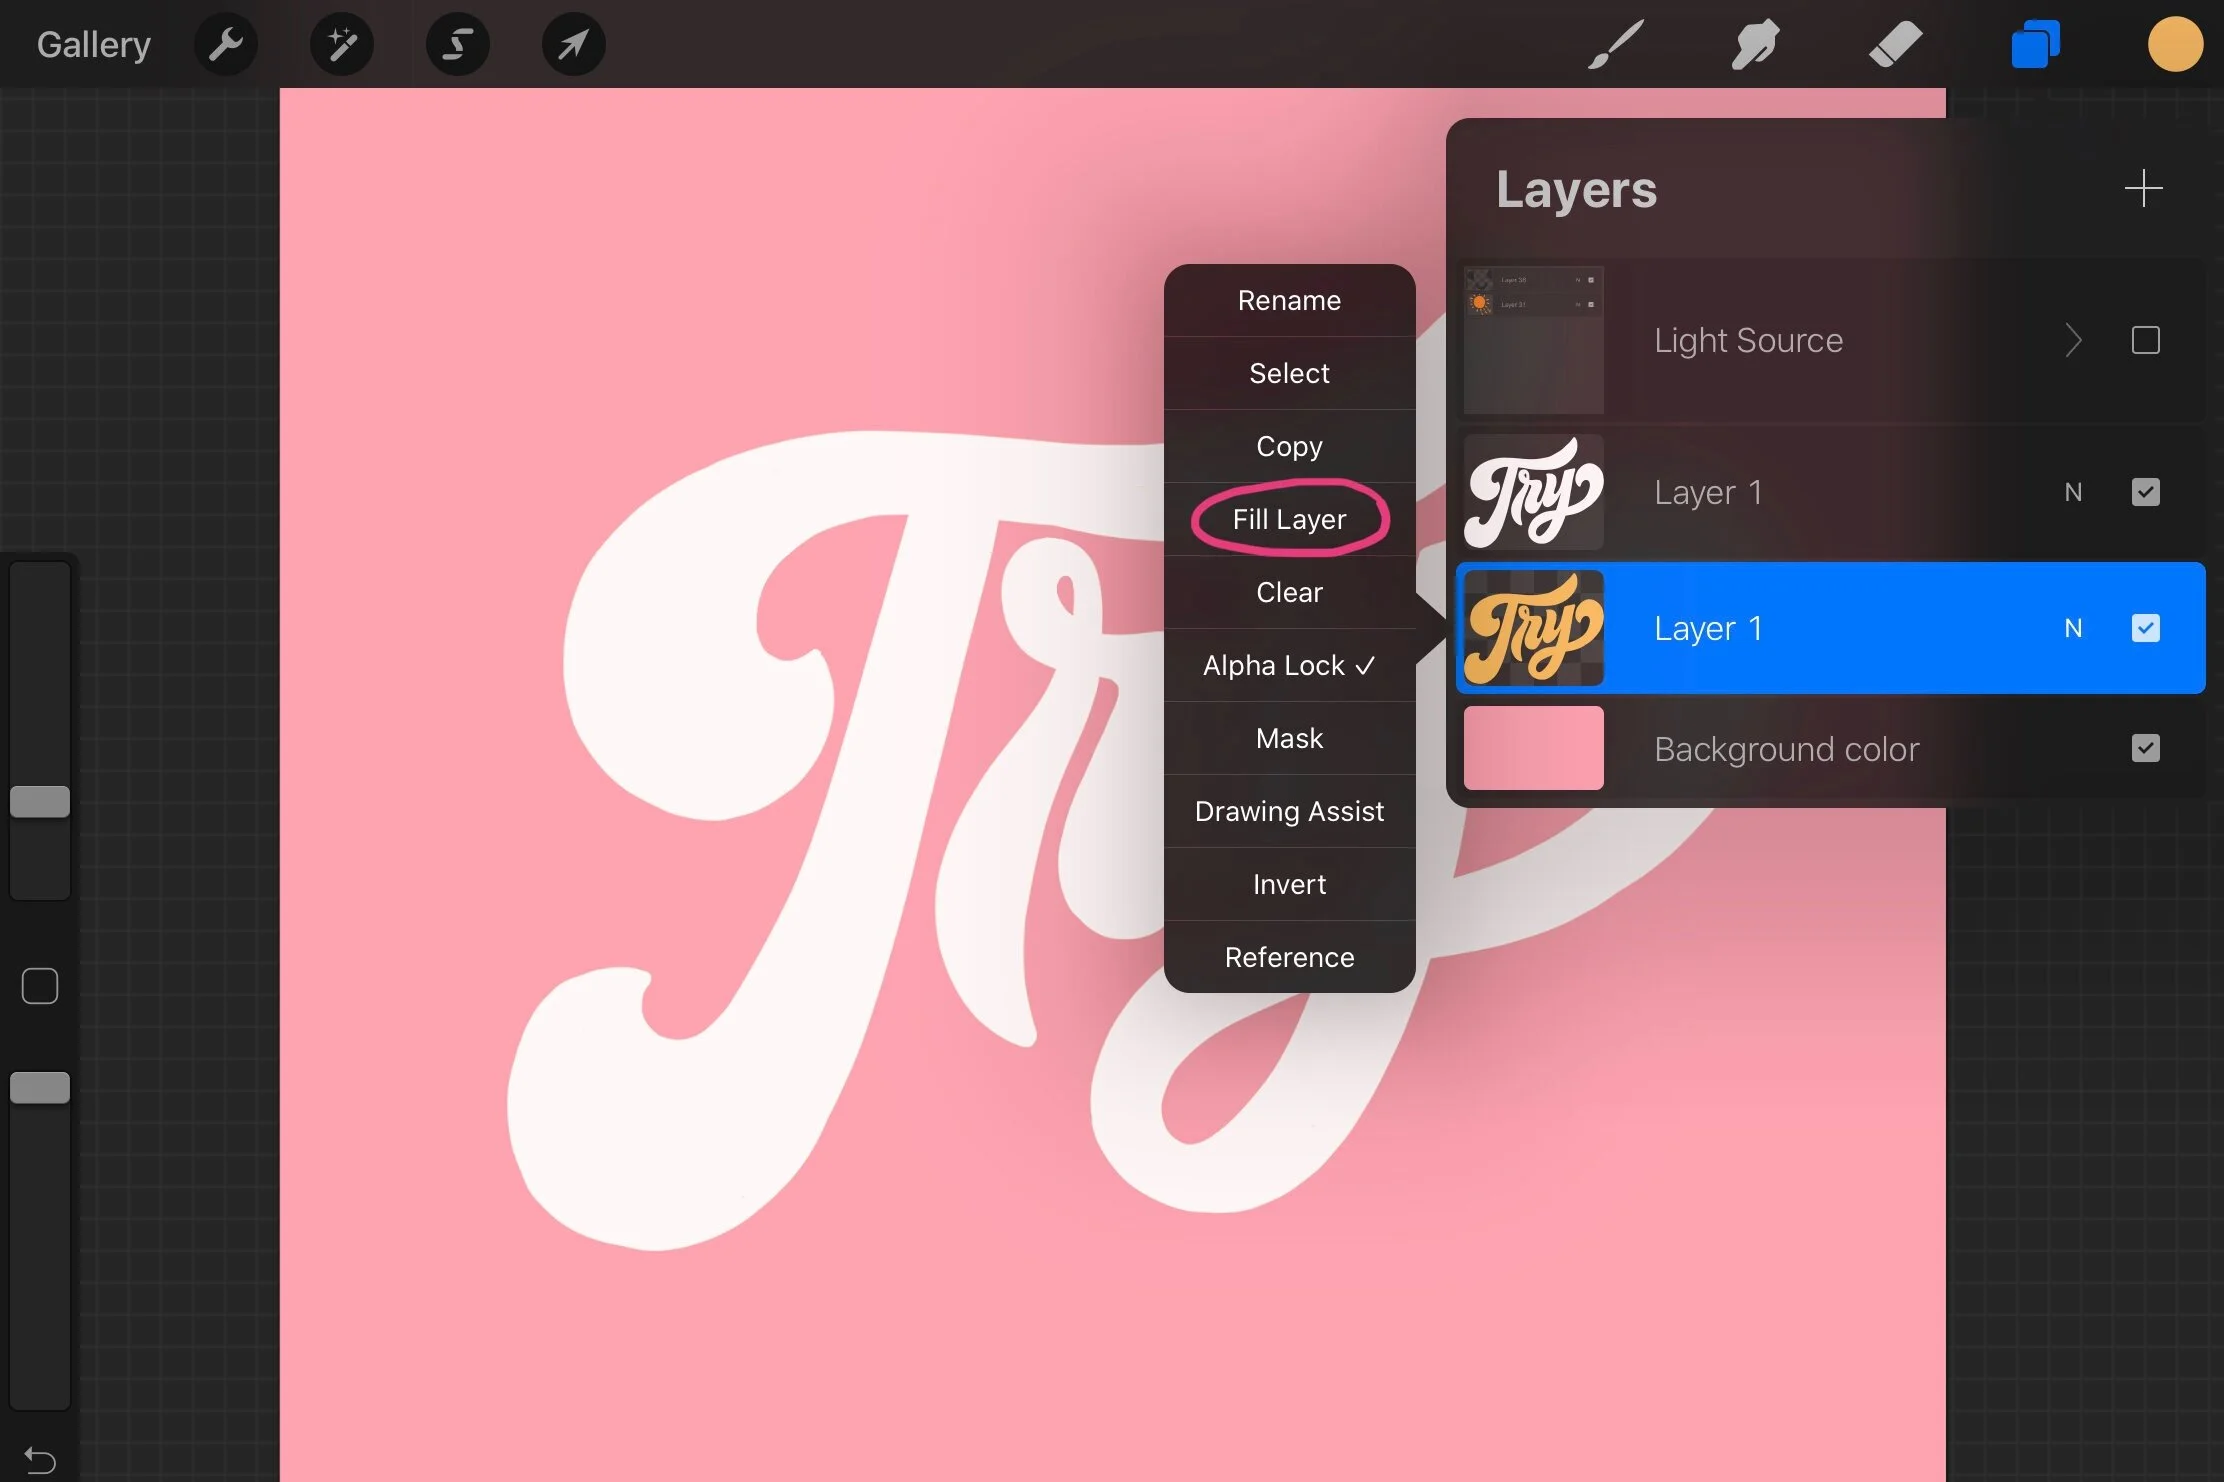
Choose your light source. I have mine coming from the top left corner.
The shadow will cast to the right. Drag the colored layer down and to the right.

In the Layers panel, release AlphaLock by tapping on the selected layer and uncheck “Alpha Lock”.
You’ll notice the checker background is gone.

Connect the edges and fill the gaps using Studio Pen brush.
STEP 2: Create drop shadow for the text
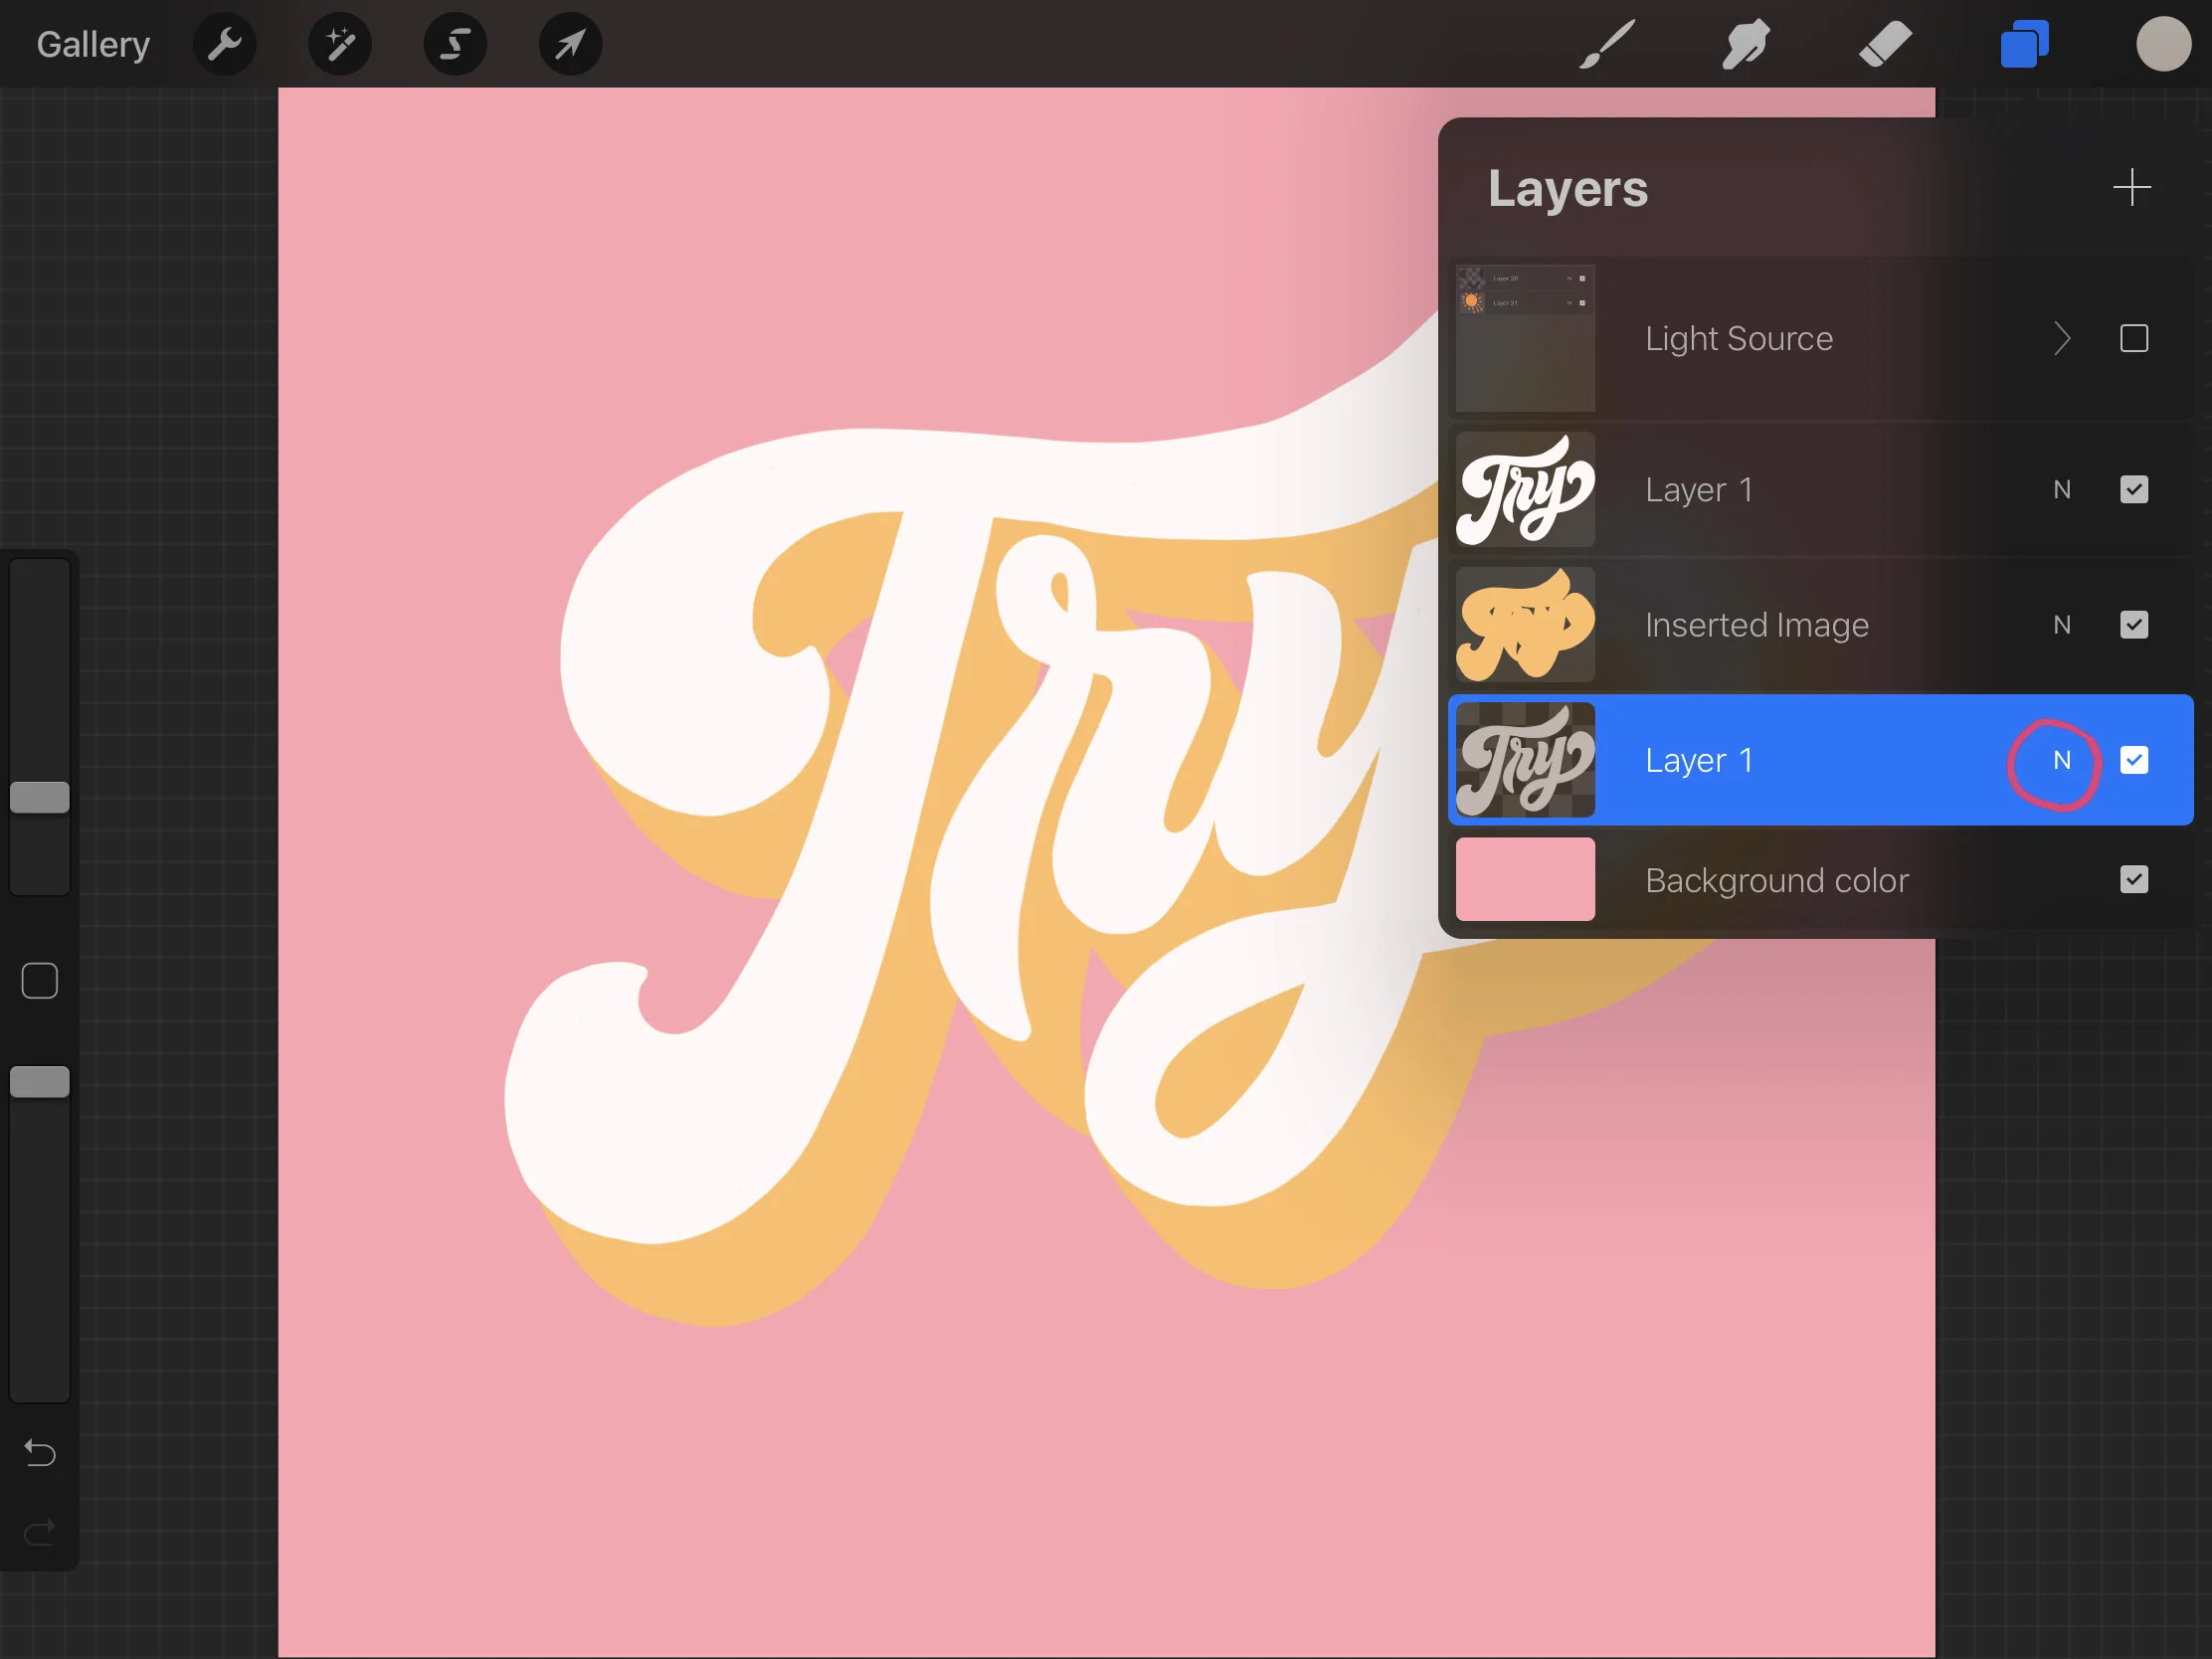
Duplicate the white text layer.
Drag it below the colored text layer.

Fill that layer with a light gray.
Create Alpha Lock.
In the Layers panel, click on N for layer options and choose Multiply.
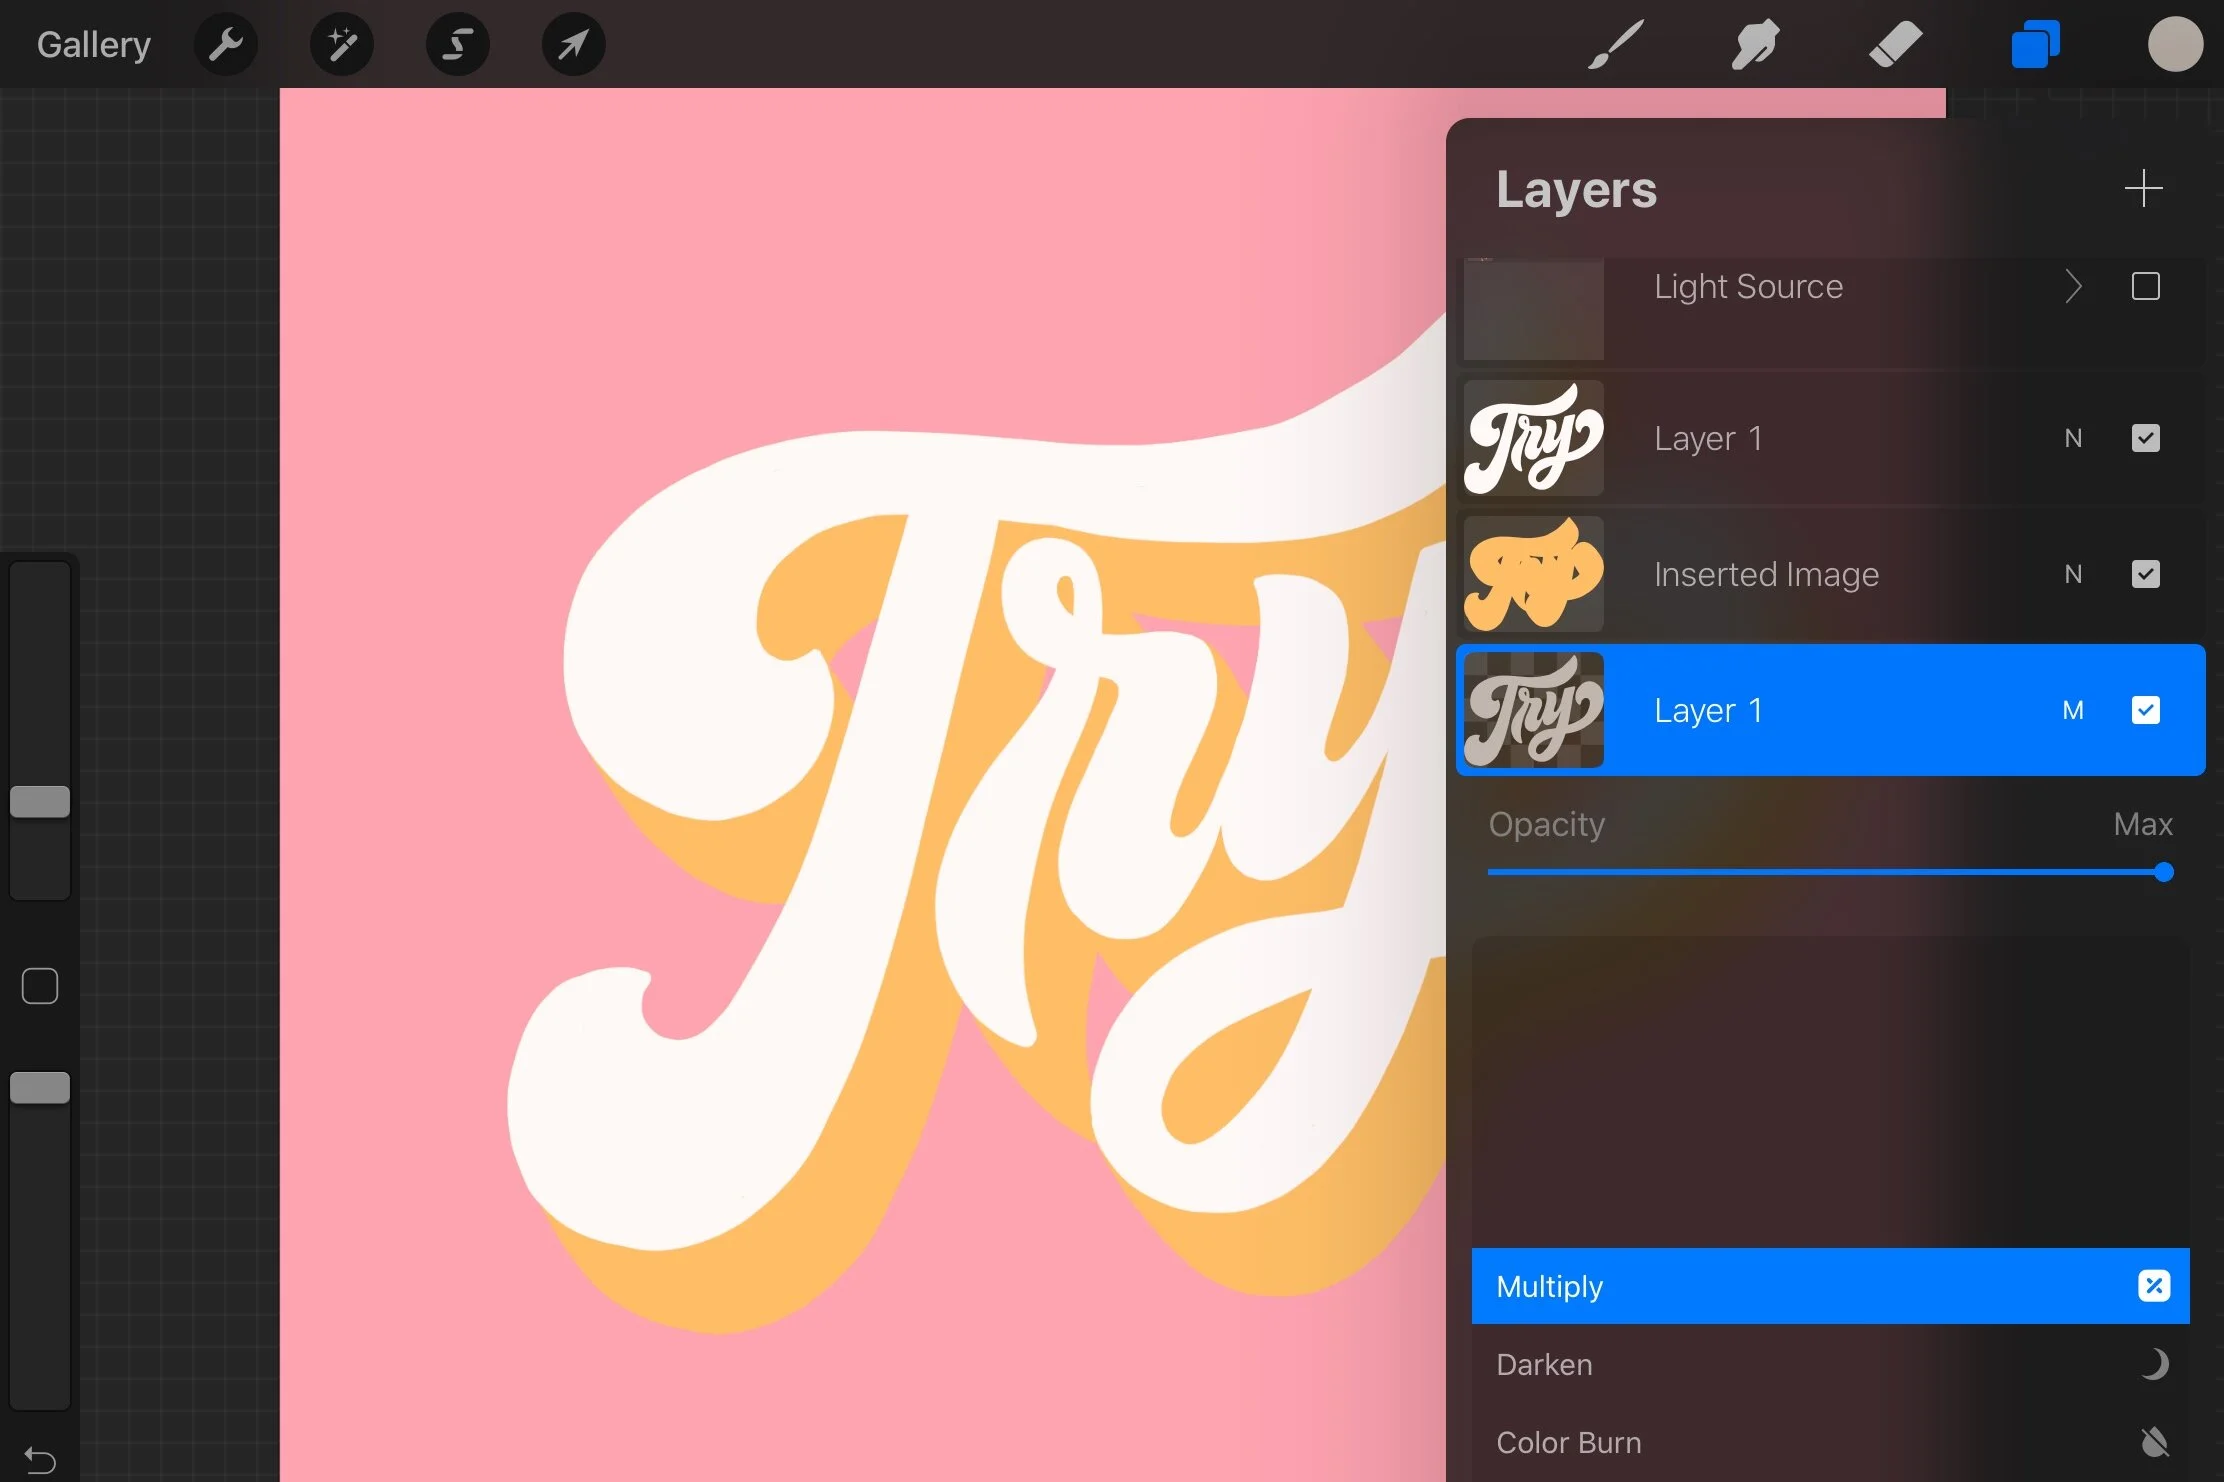
Under Opacity, drag the slider to around 25%. You don’t want this shadow too dark because it’ll compete with the main artwork.
Drag the shadow layer down and to the left.

Release Alpha Lock.
Complete the shadow.
STEP 3: Add darker shades to 3D text
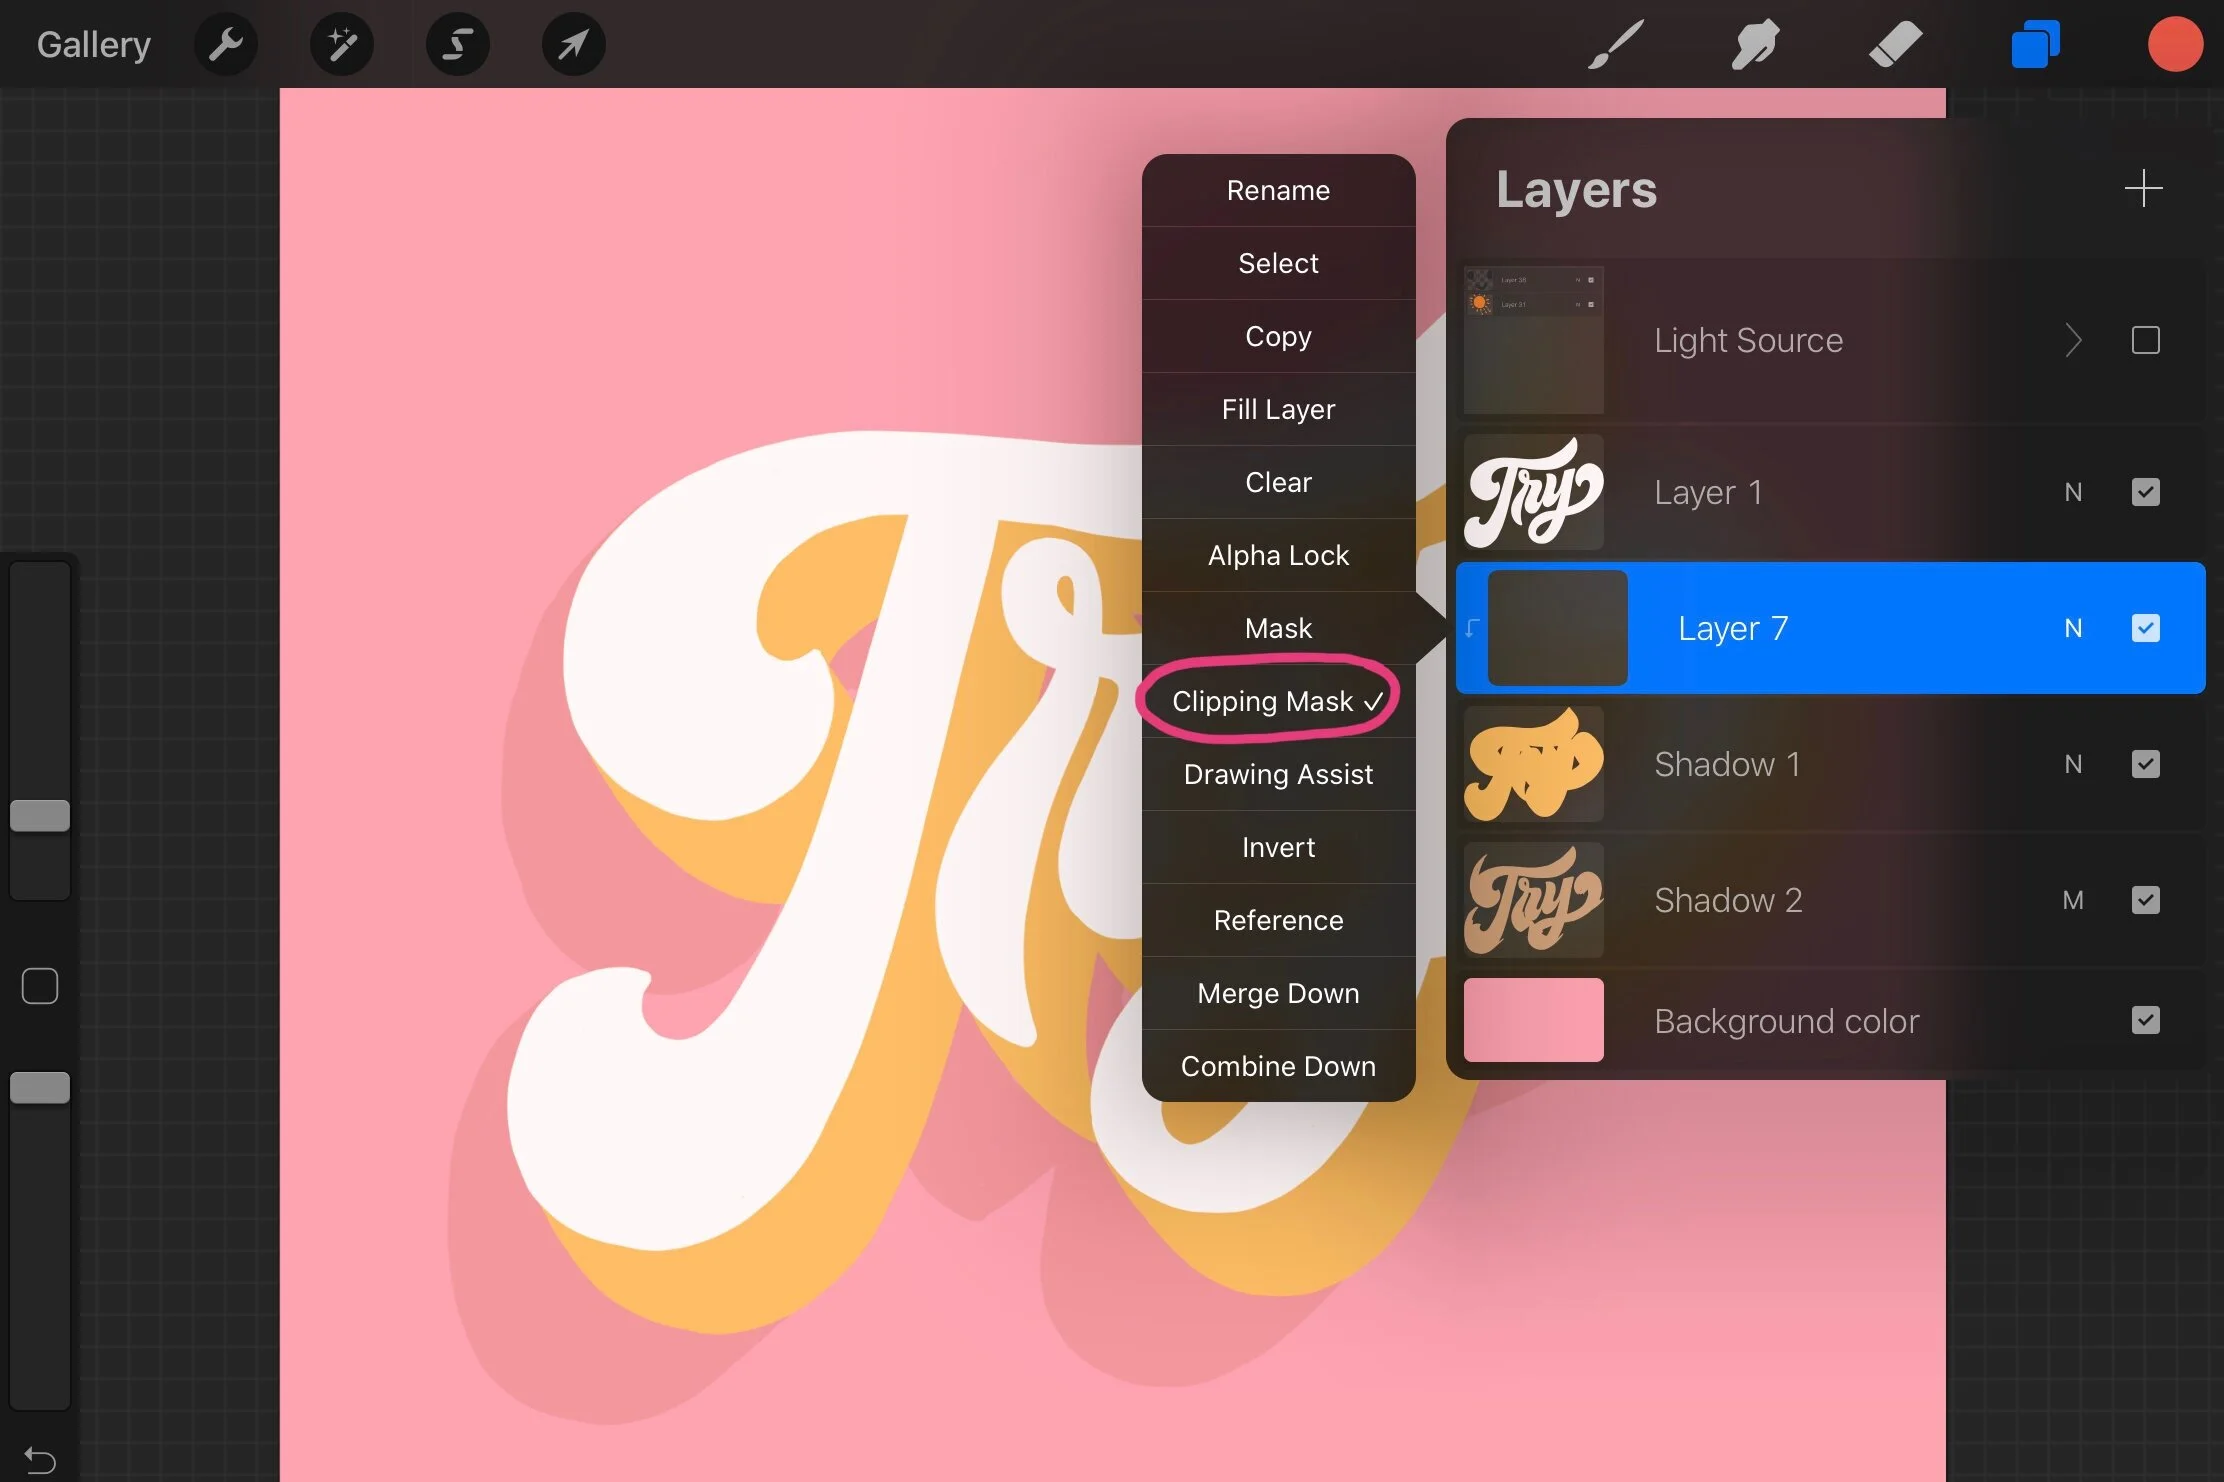
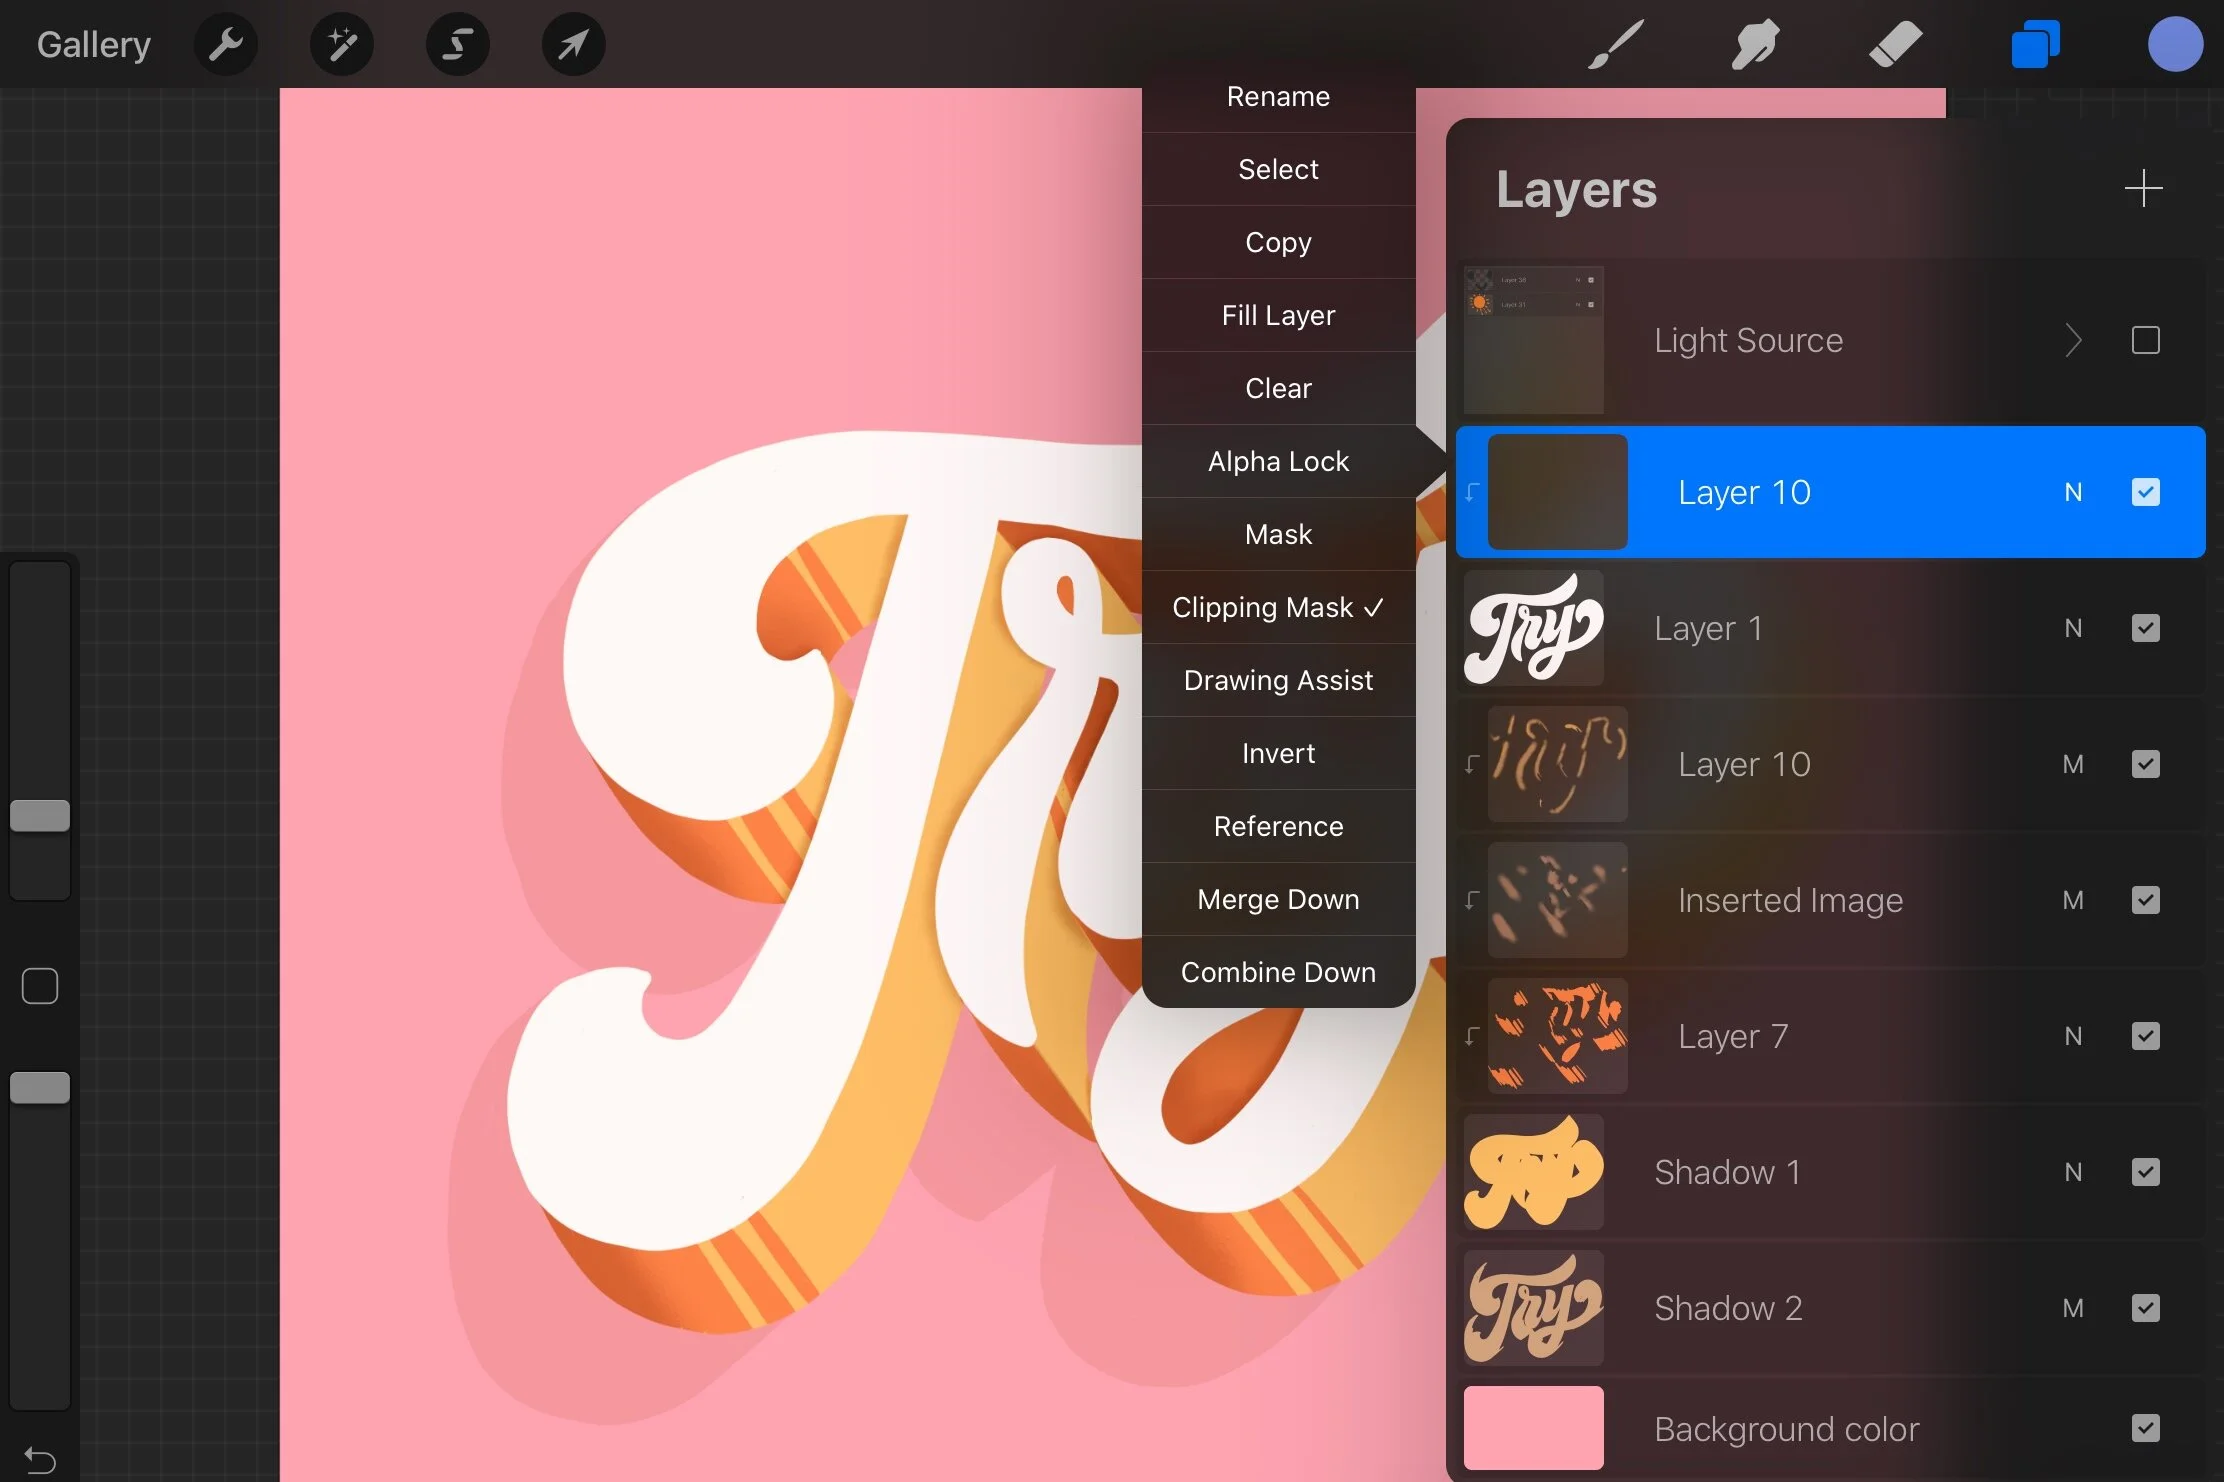
Create a new layer above the colored 3D text.
Tap on the layer and select “Clipping Mask”. Anything you draw on this layer will stay within the shape.
Bring out your light source again.
Identify all the darker parts of the 3D text.
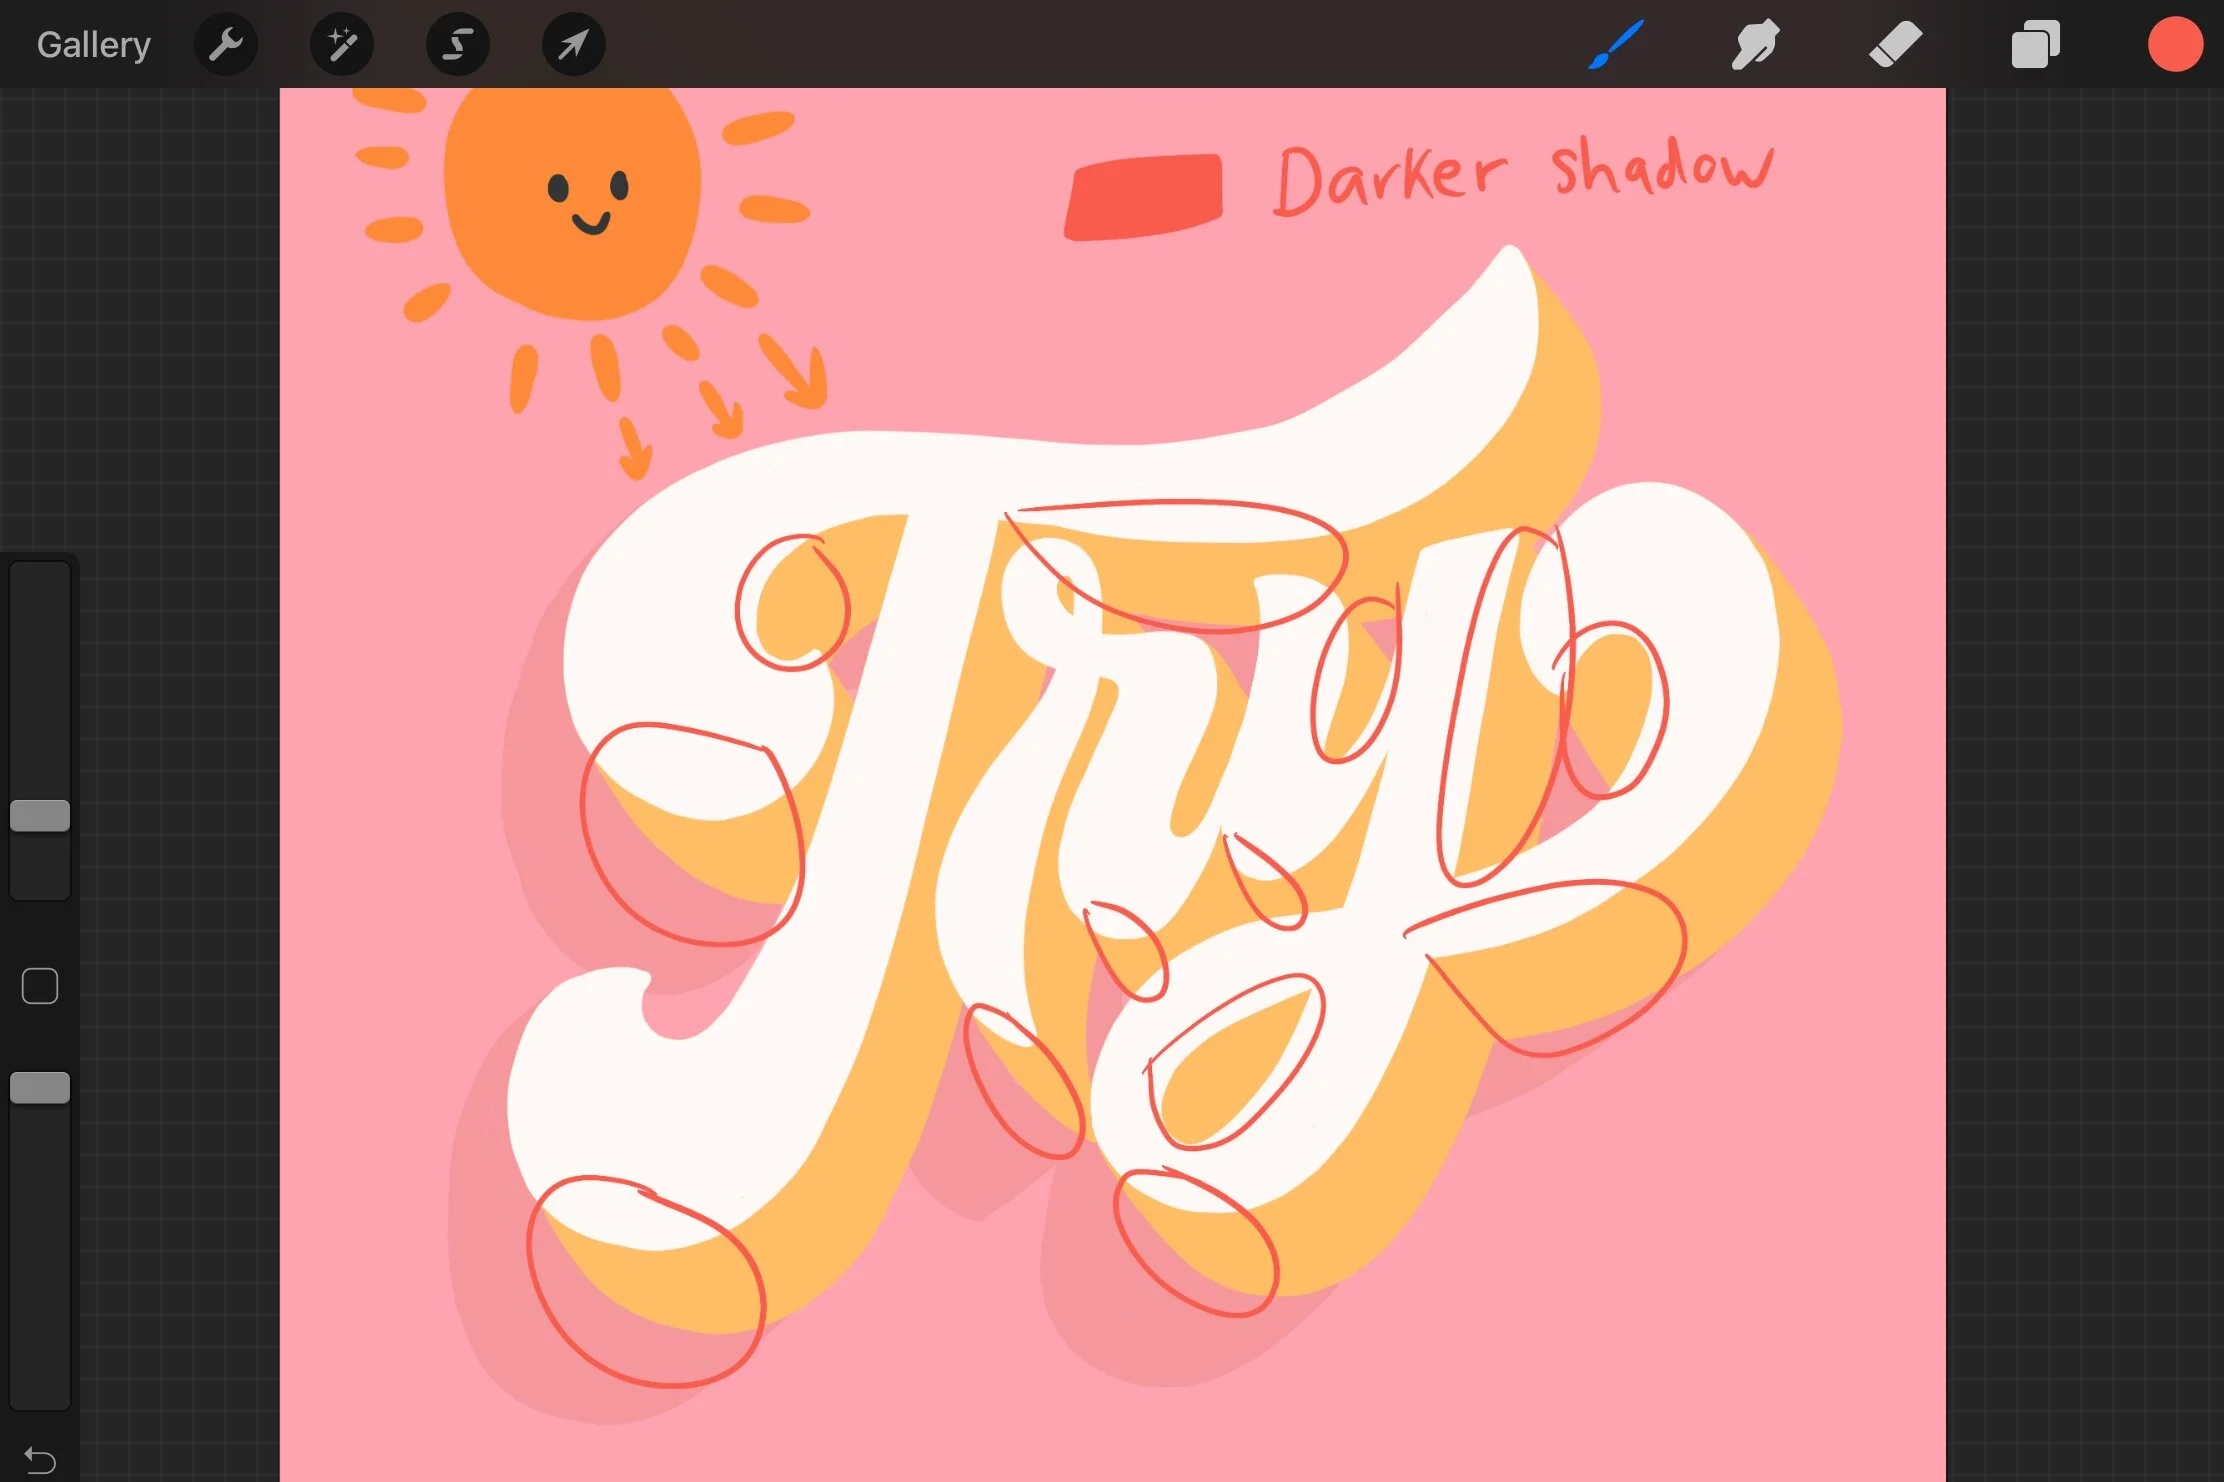
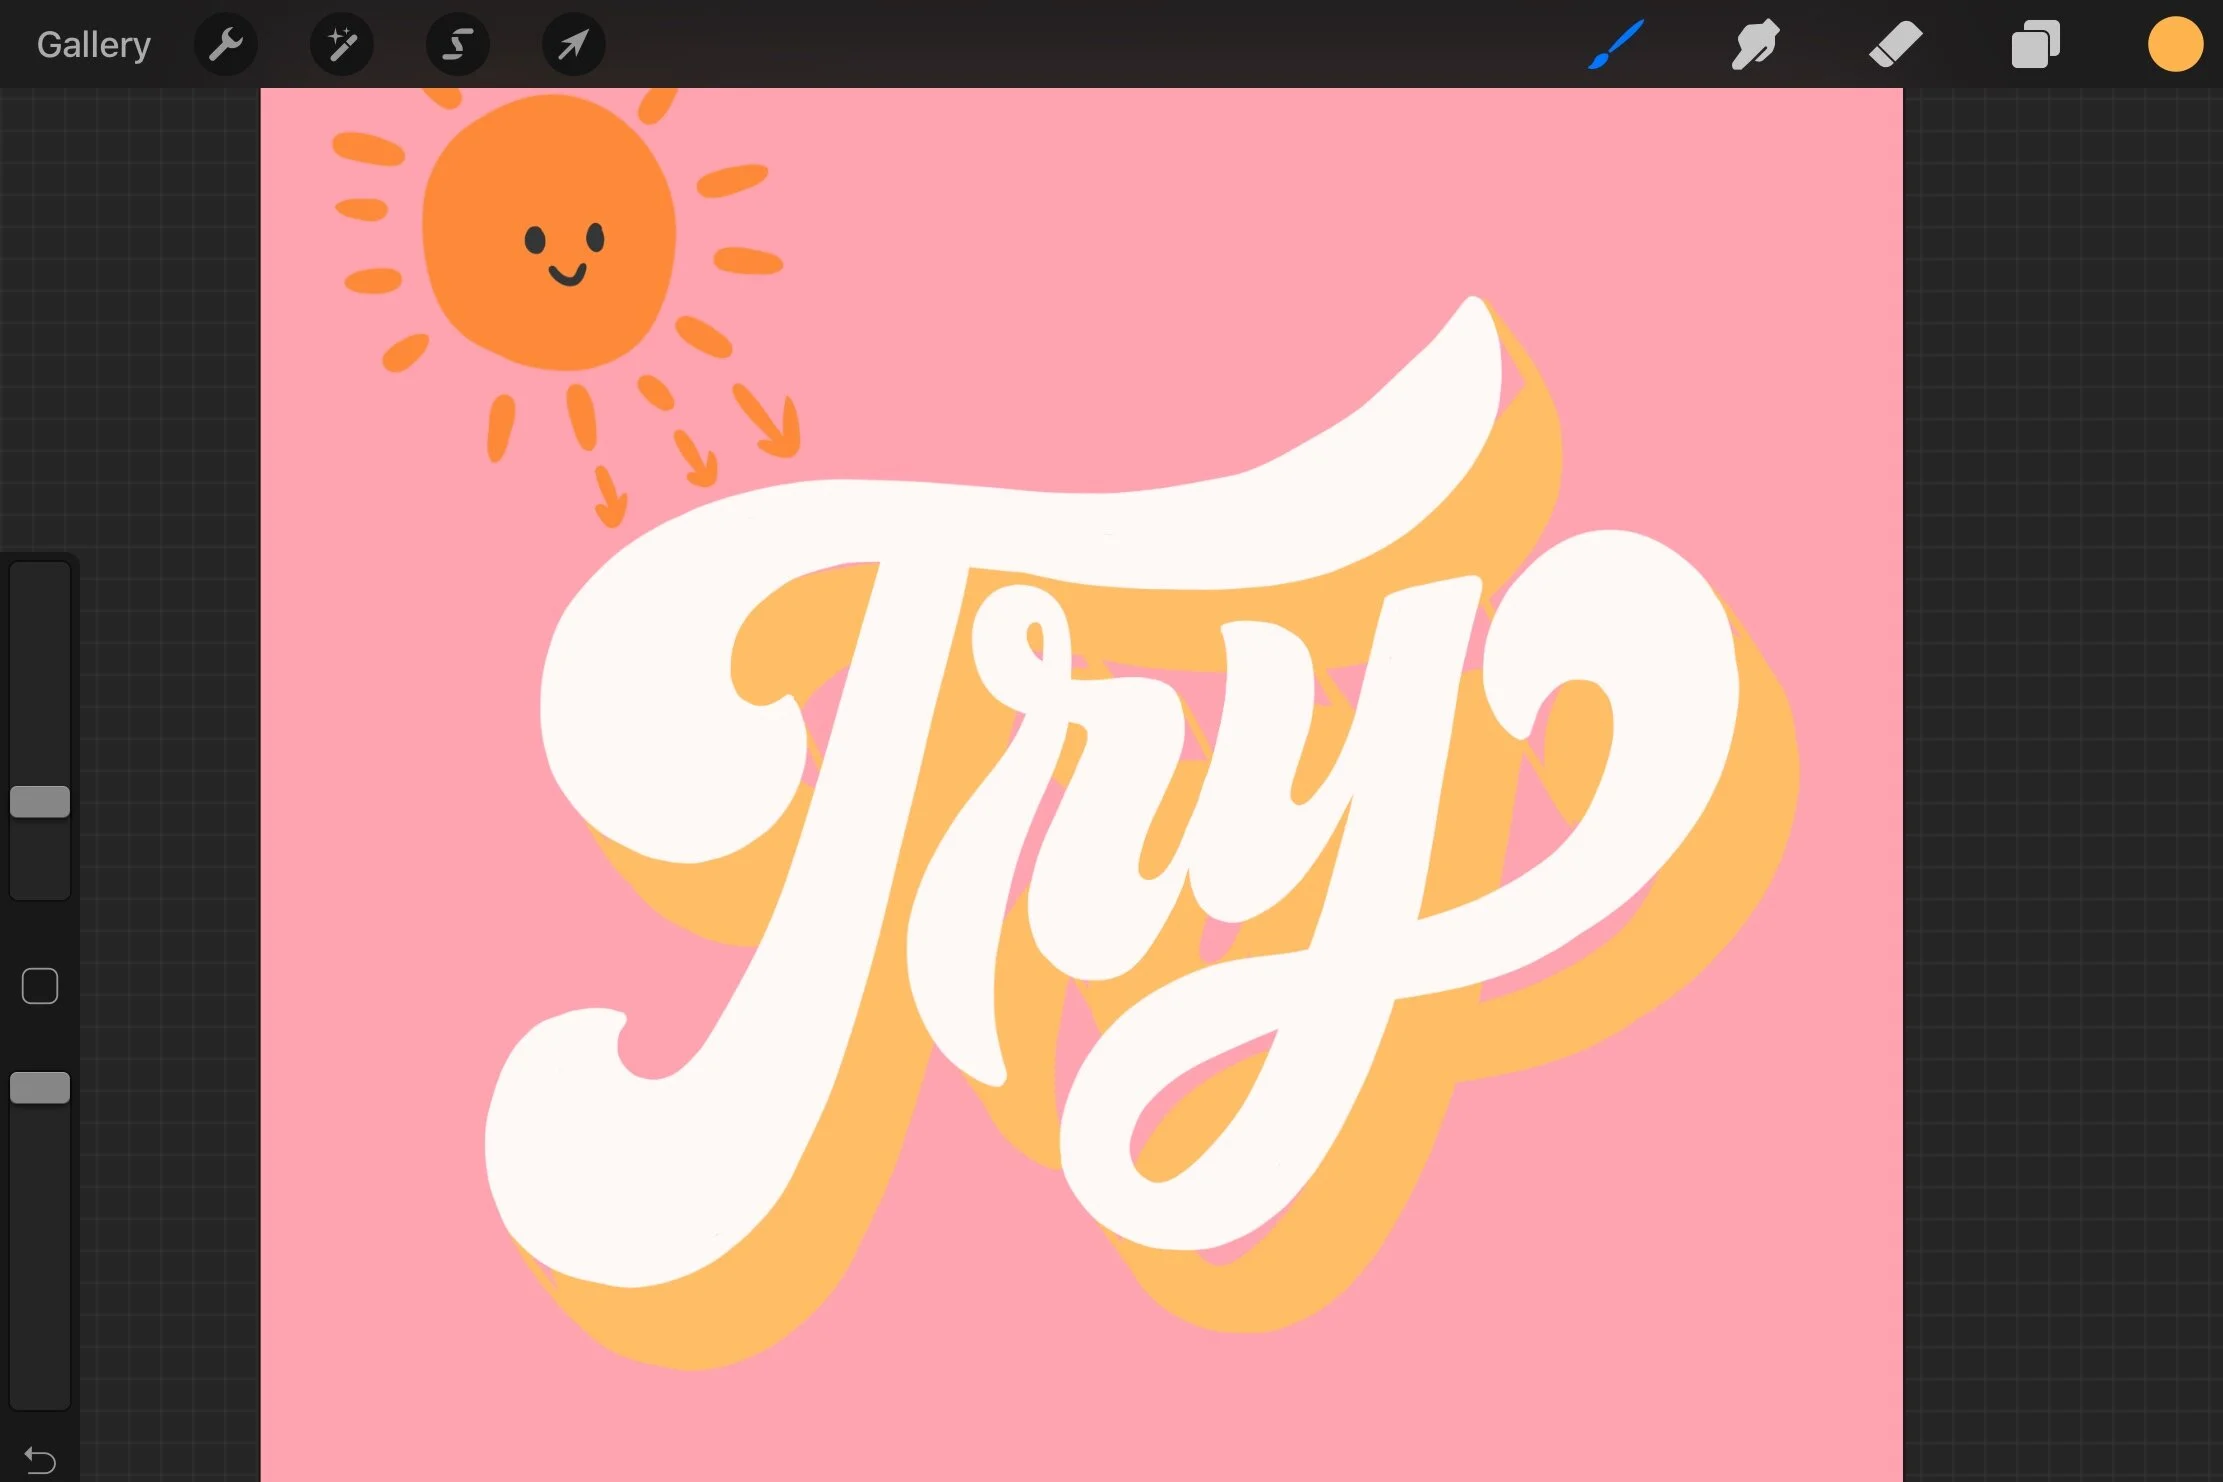
Pick a darker color. I use orange here and Studio Pen brush.
Draw the shadings based on the guide.
Add lines to show the transition from dark to light.
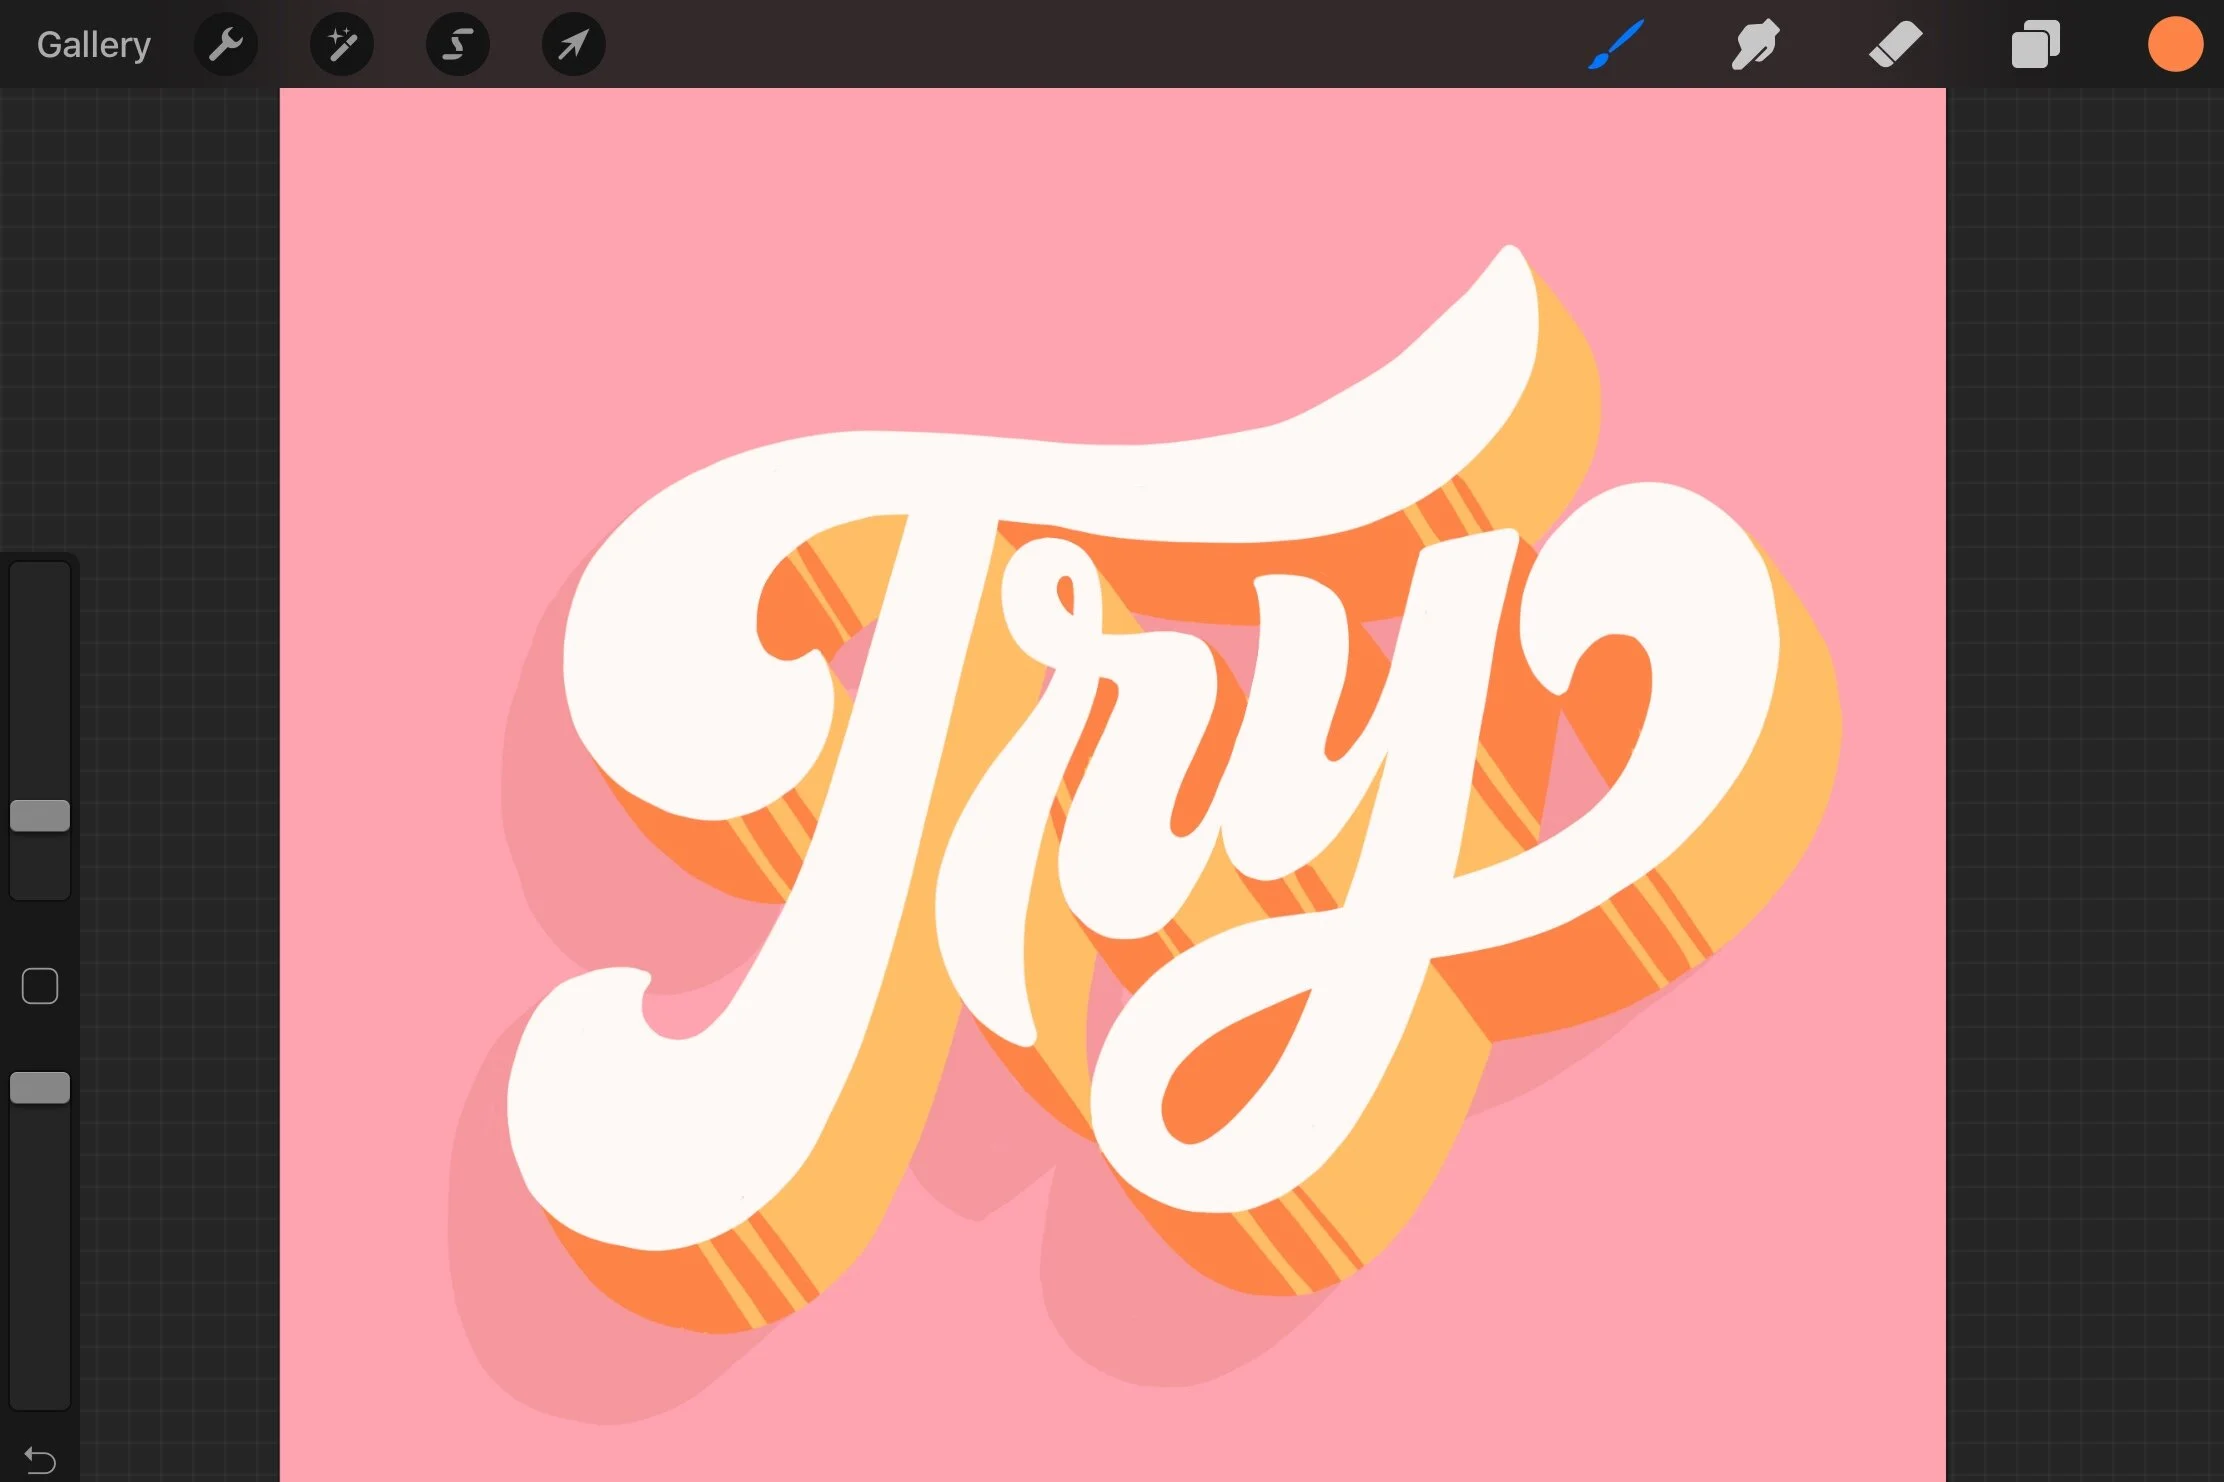
Here you’re done with the basic 3D text for your lettering. Once you feel more comfortable with this part, let’s move on to advanced shading part.
ADVANCED SHADING TECHNIQUE
In this section, you’ll learn how to add details on the shadow and the text. Little details make a big difference :)
STEP 4: Add extra shading to the 3D text
Create a new layer (above the orange layer).
Tap on the layer and chose “Clipping Mask”.

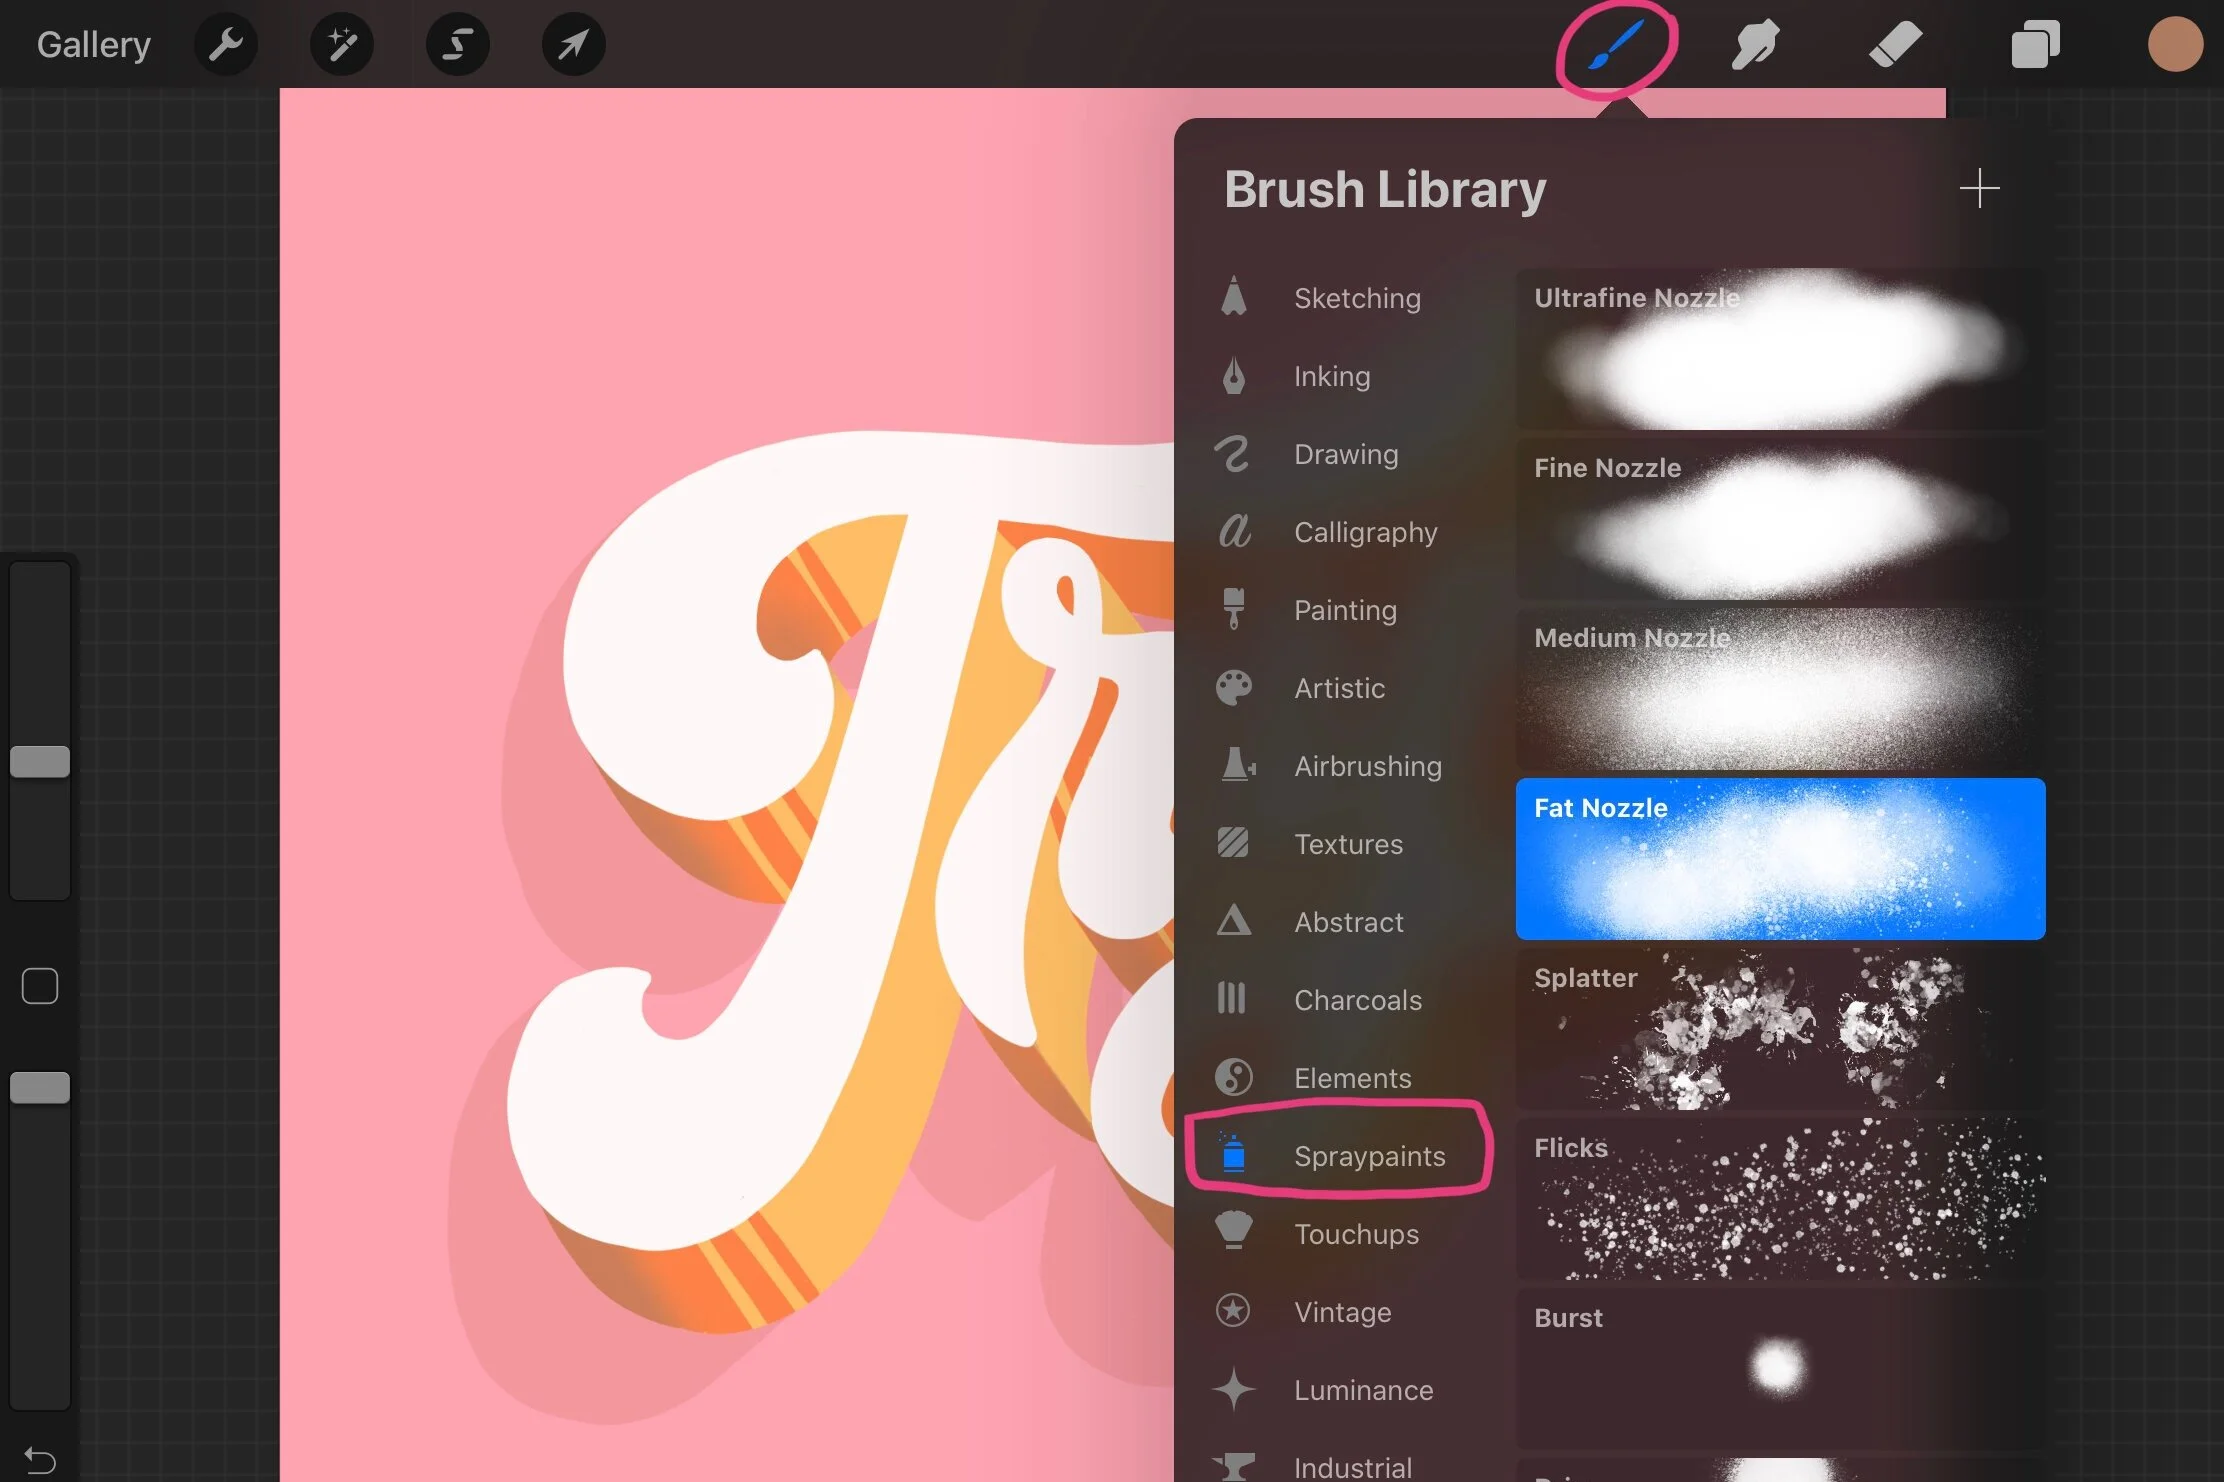
Pick a dark color for the shading.
Use a softer brush (I use Fat Nozzle).
Draw the darkest area of the 3D text.
Set the layer to Multiply Mode.
Adjust Opacity of the layer as needed.
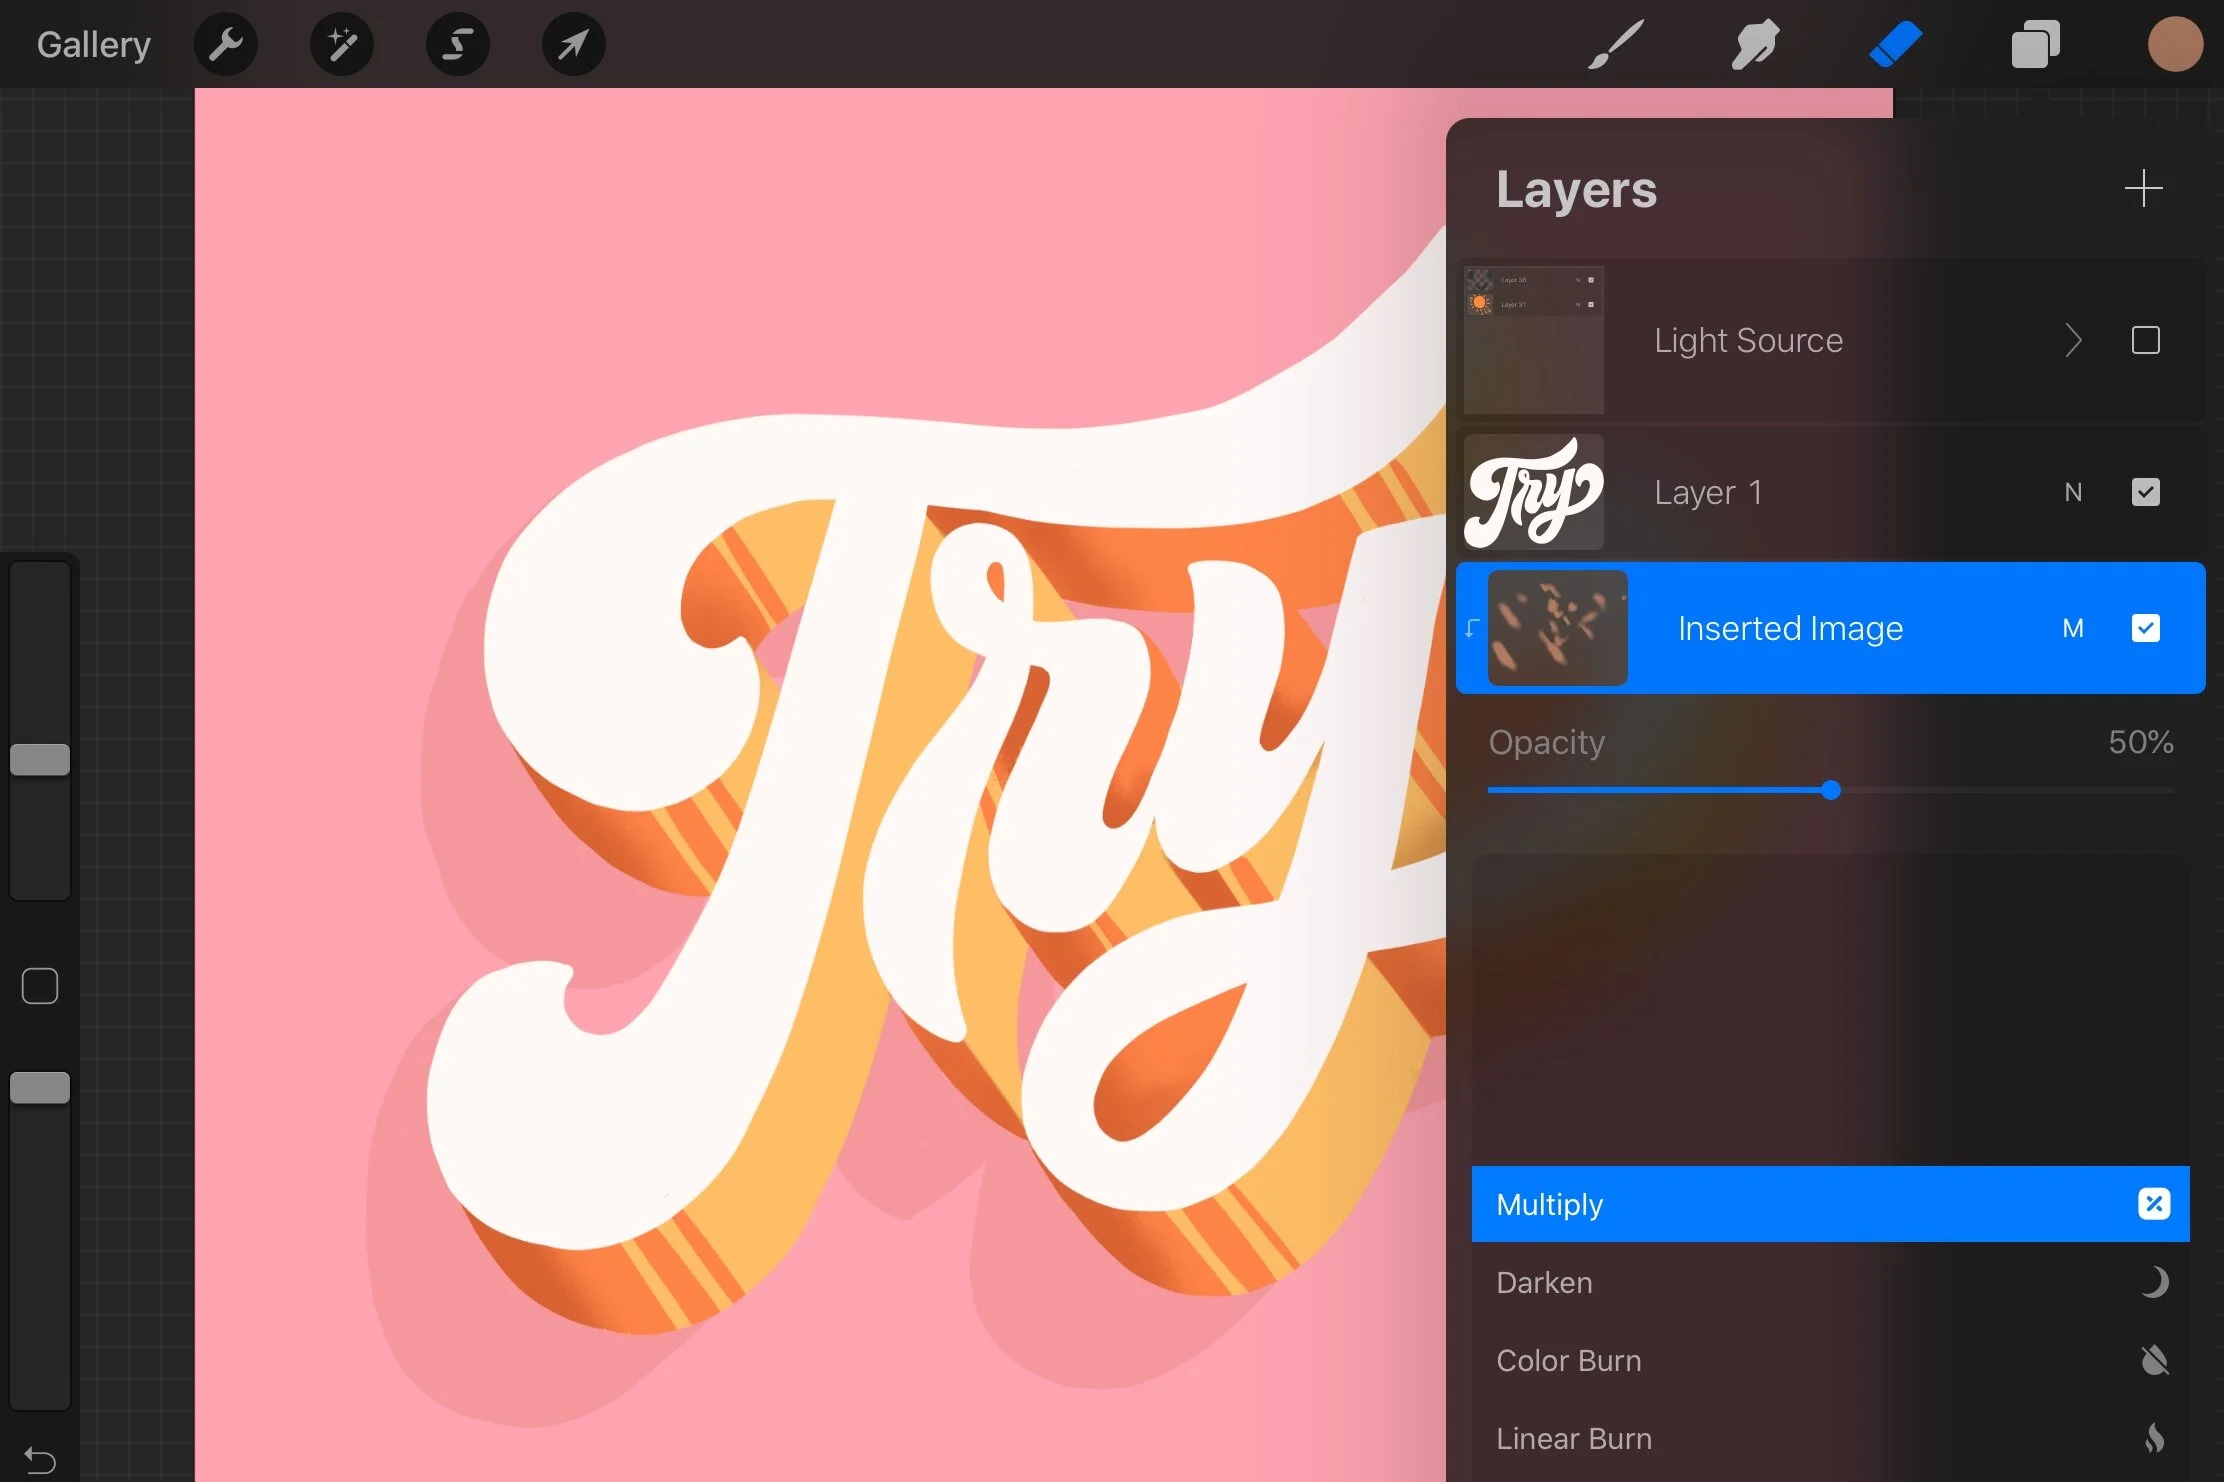
Here is the result.

Step 5: Add shadow where the letters overlap
Identify all the overlapping areas.
Repeat step 4 but this time I use the Medium Nozzle brush:
-Create a new layer (above the shading layer).
-Tap on the layer and select “Clipping Mask”.
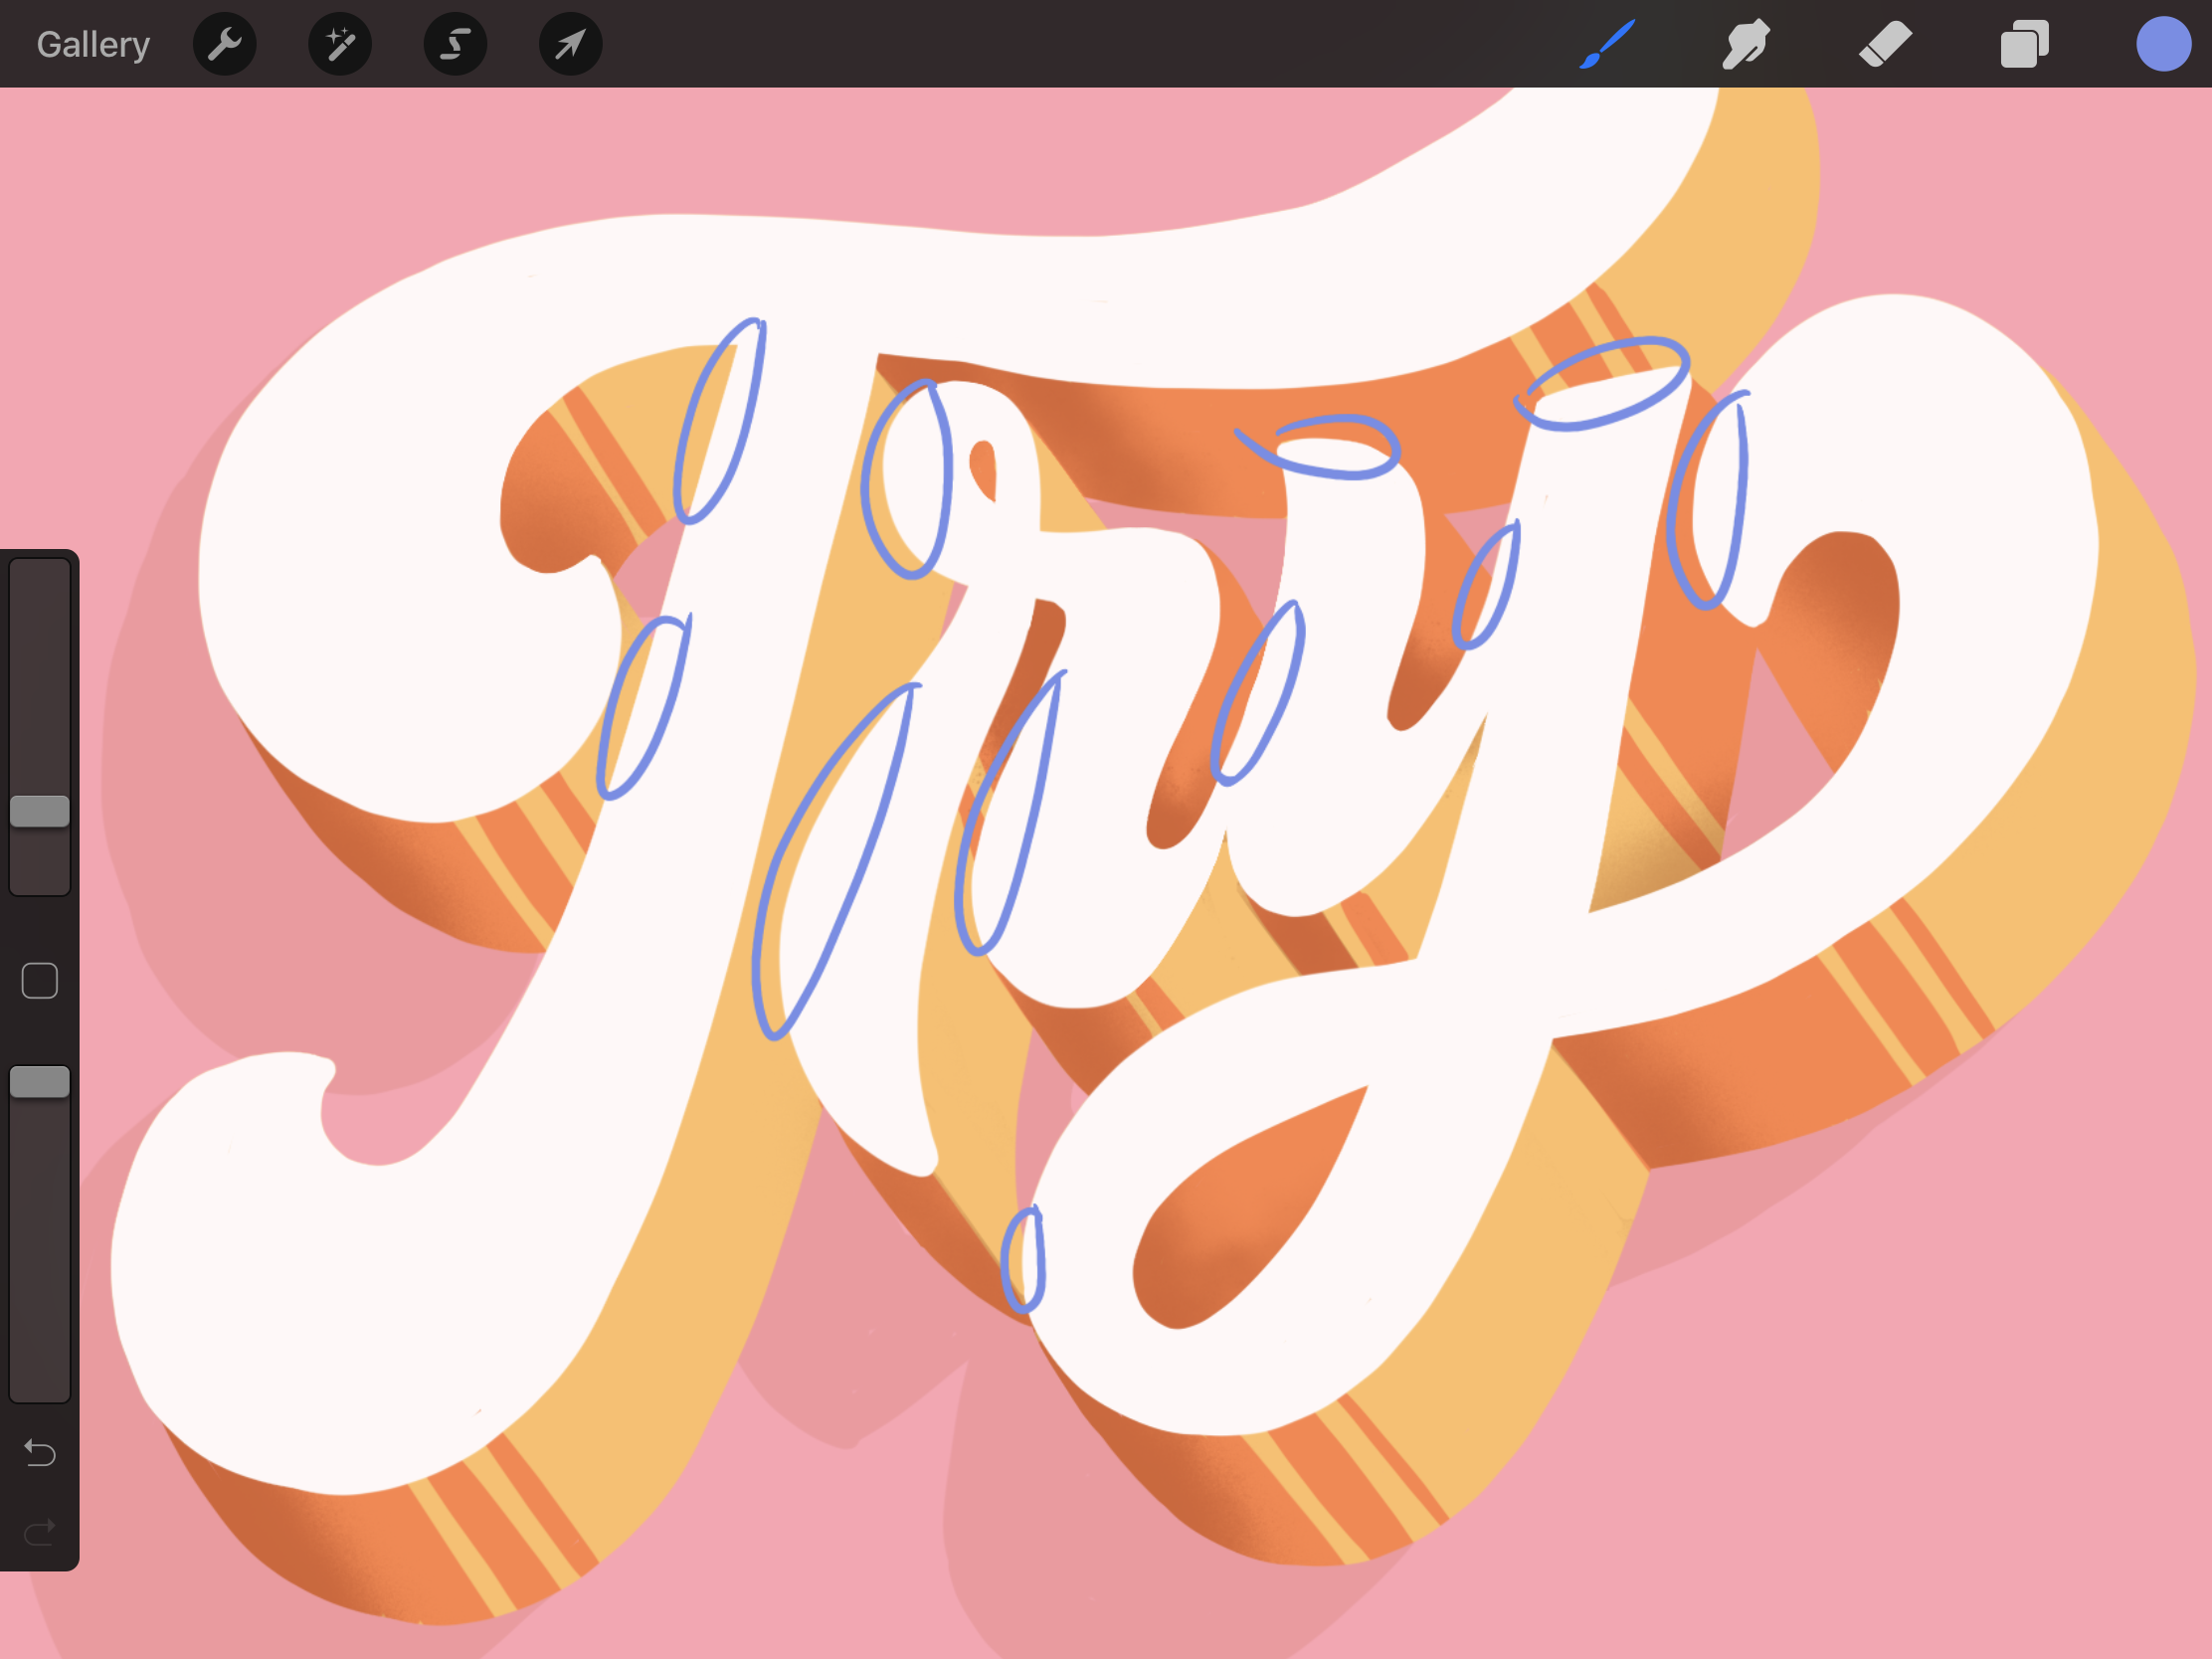
Draw all the overlapping areas.

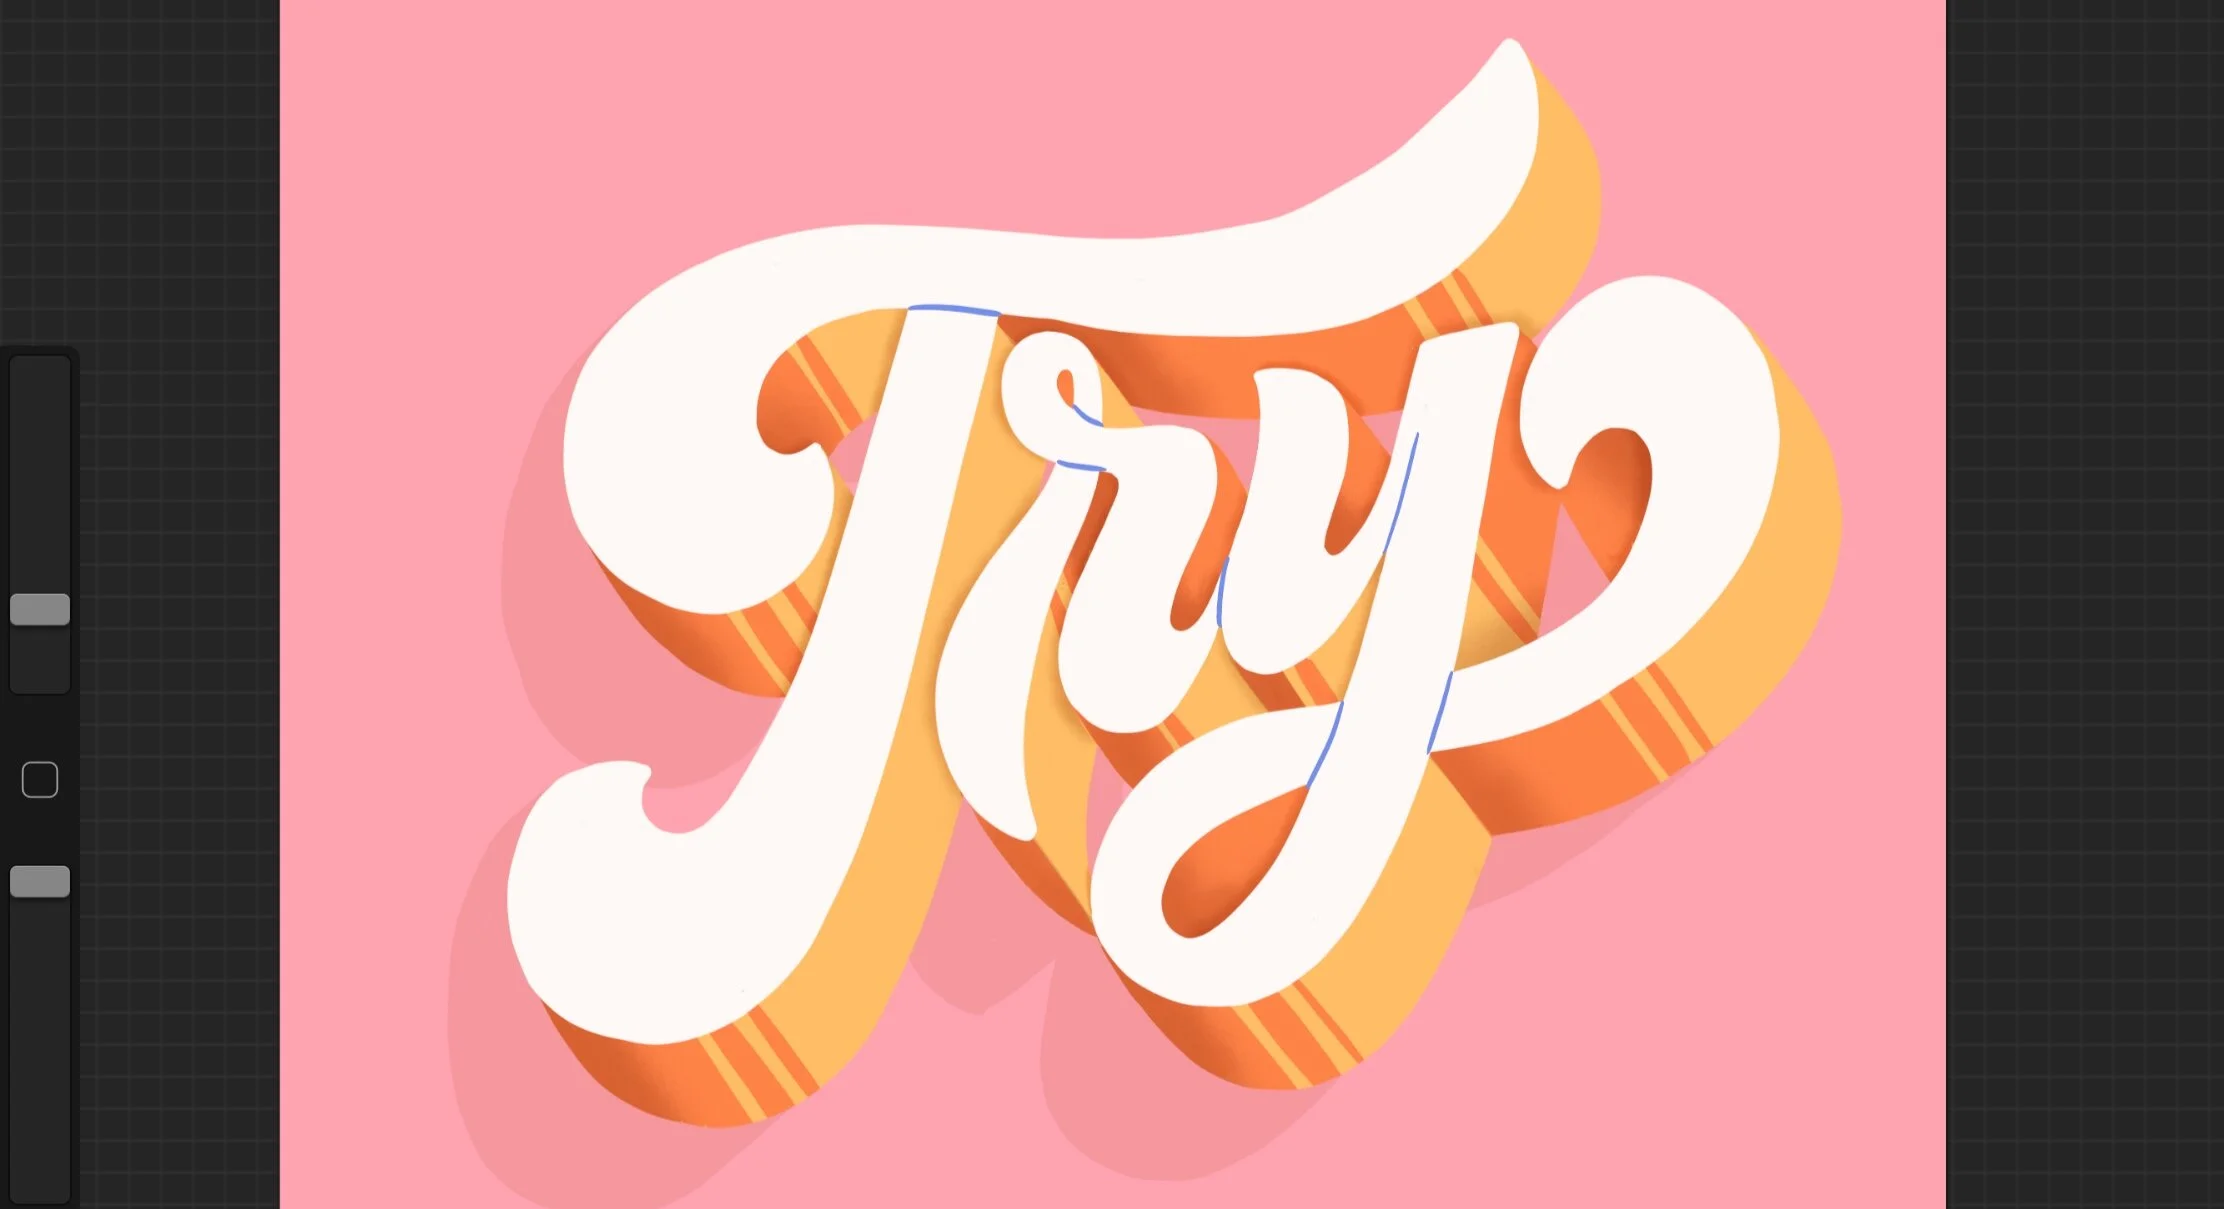
Step 6: Add additional shadows on the white text
Add shadows to where the strokes overlap (blue lines).
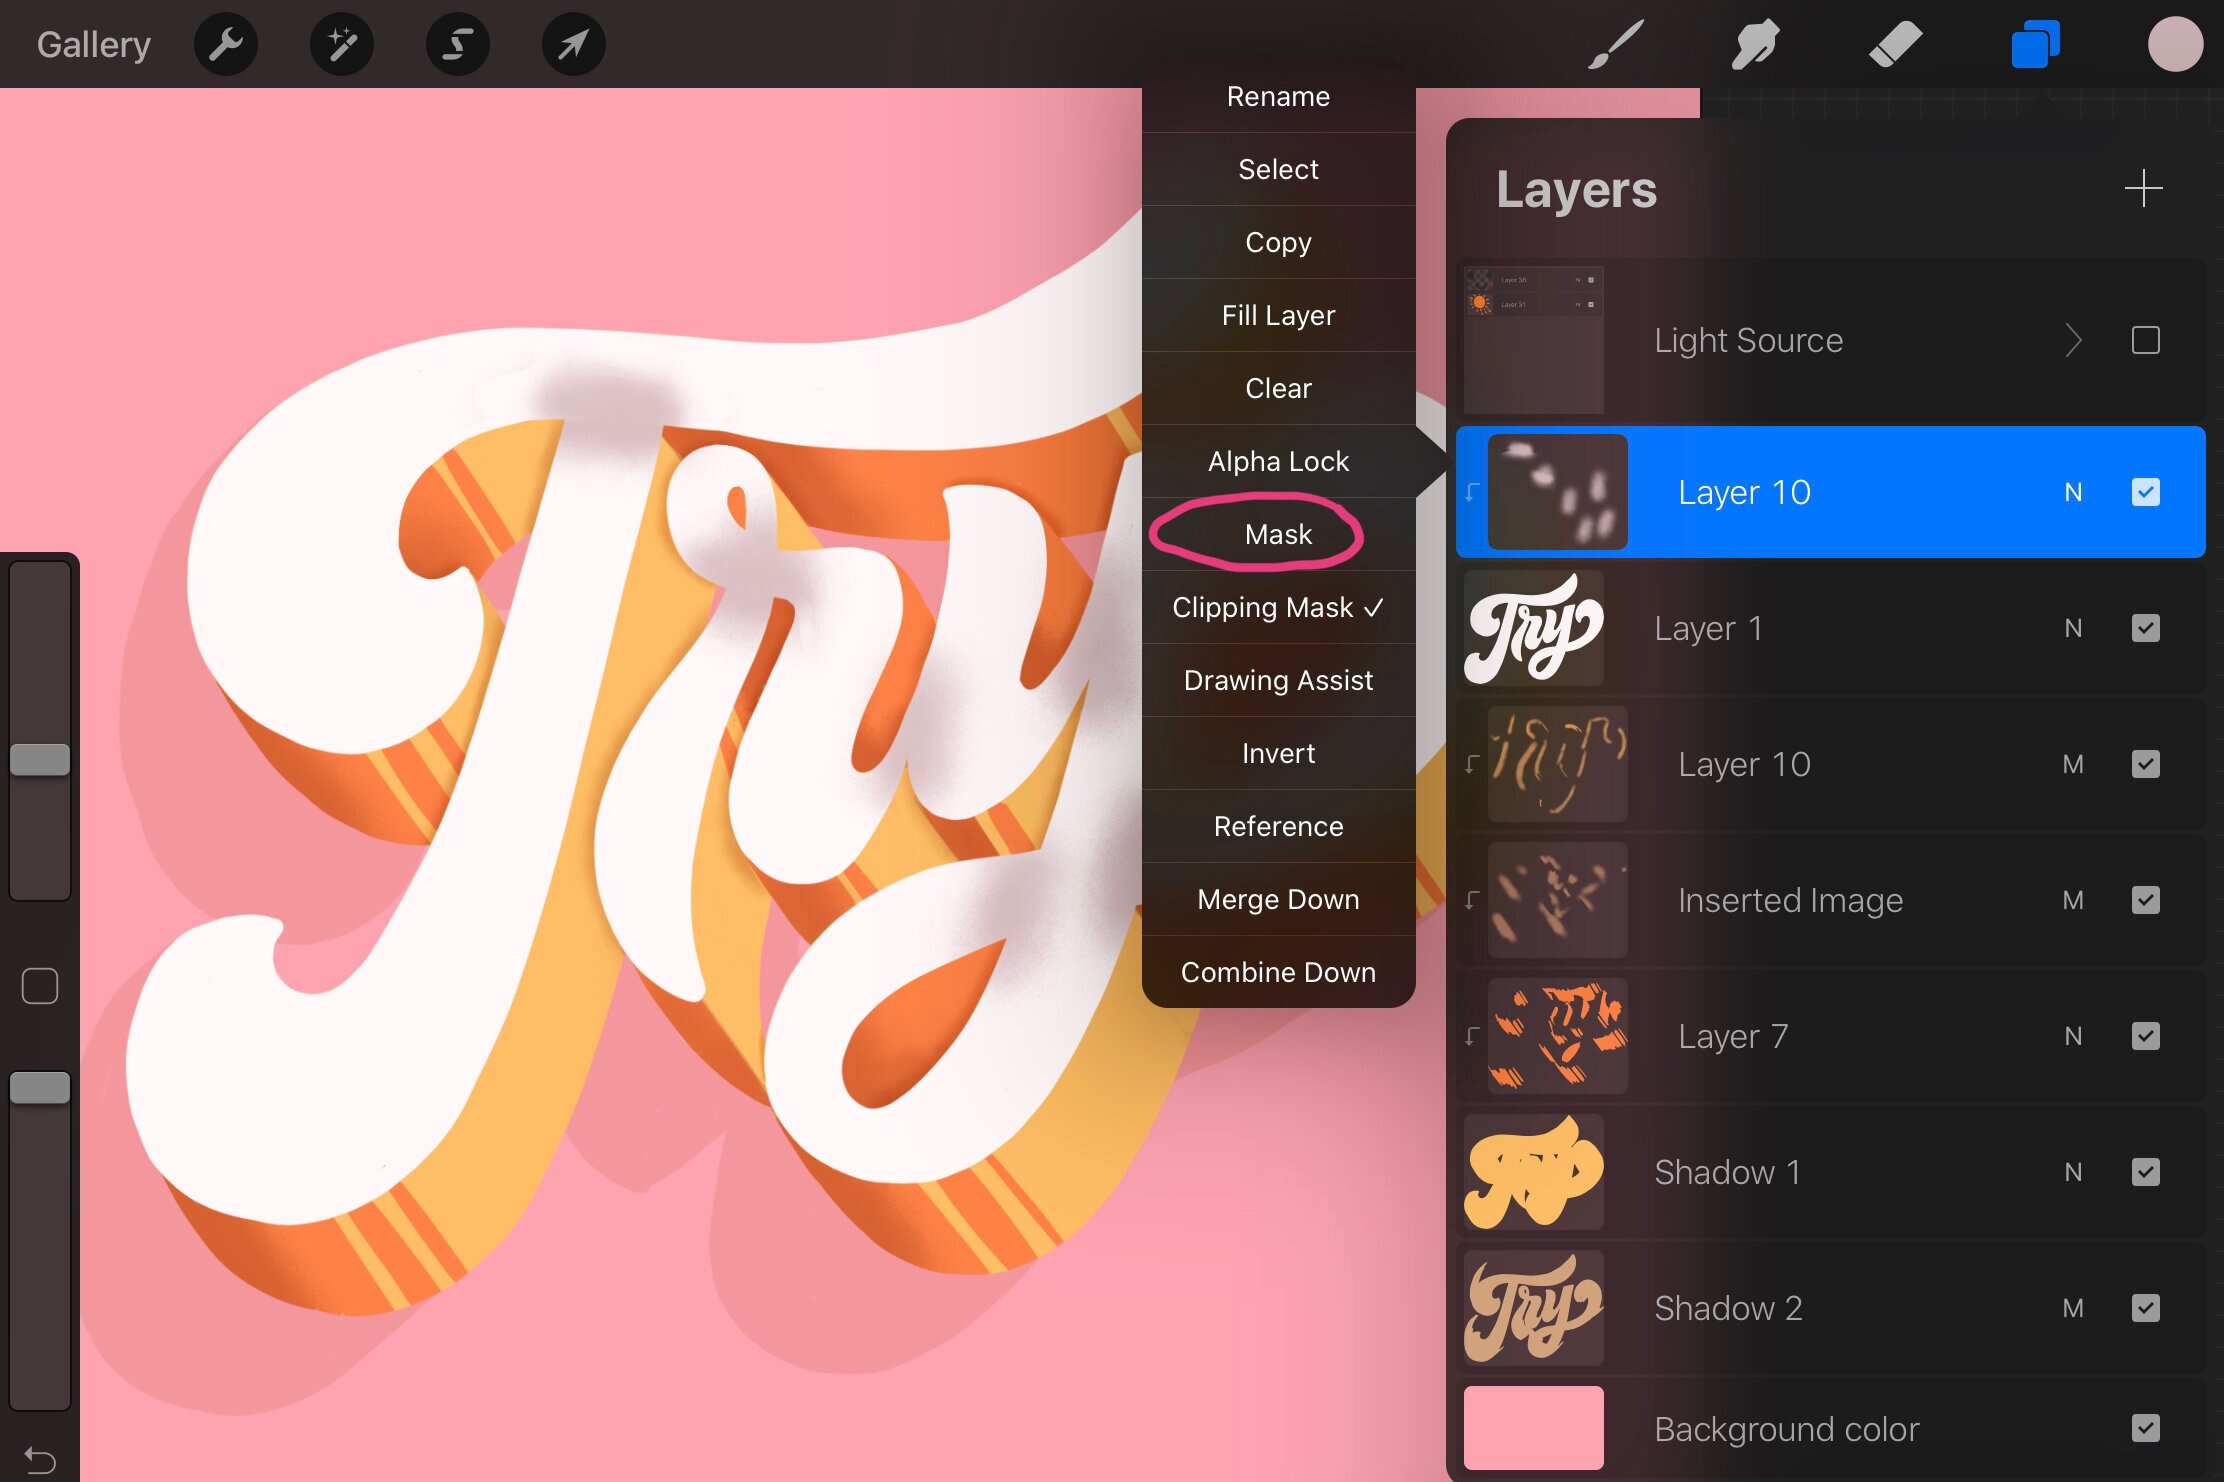
Create a new layer above the white text layer.
Select Clipping Mask.
Use light grey + Medium Nozzle brush to draw the shadow.
Create a Layer Mask to erase.
Use a clean edge brush (I use Studio Pen brush) to clean up, make sure it is black.
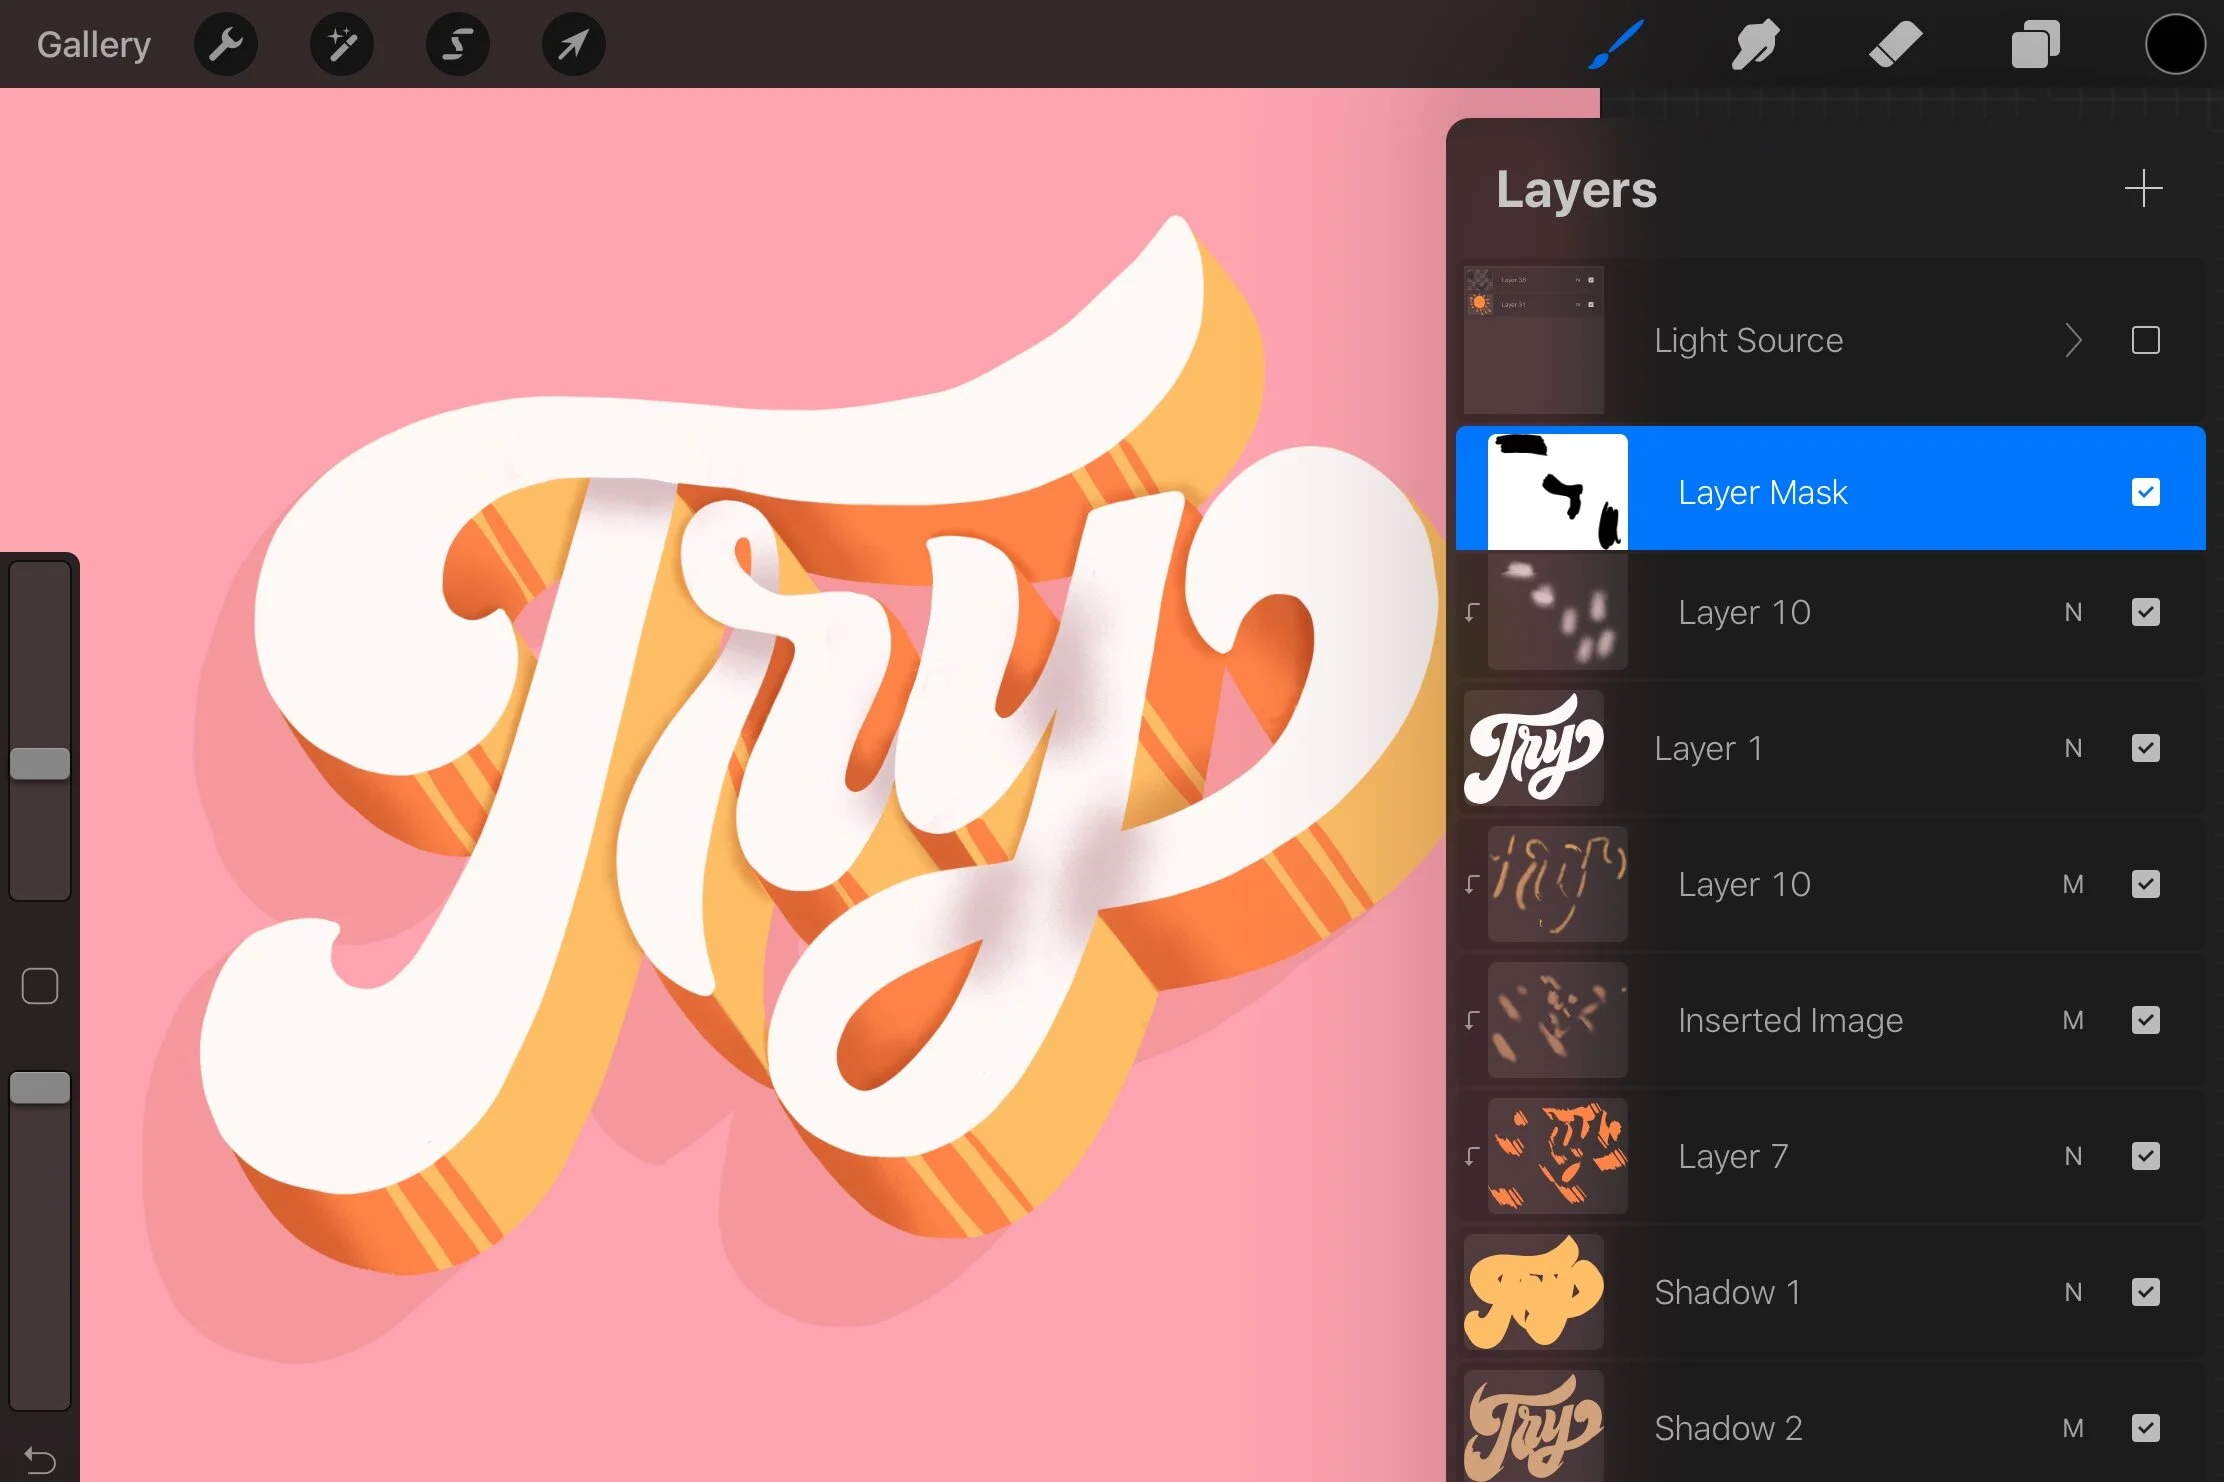
Here is how it looks after cleaning up.
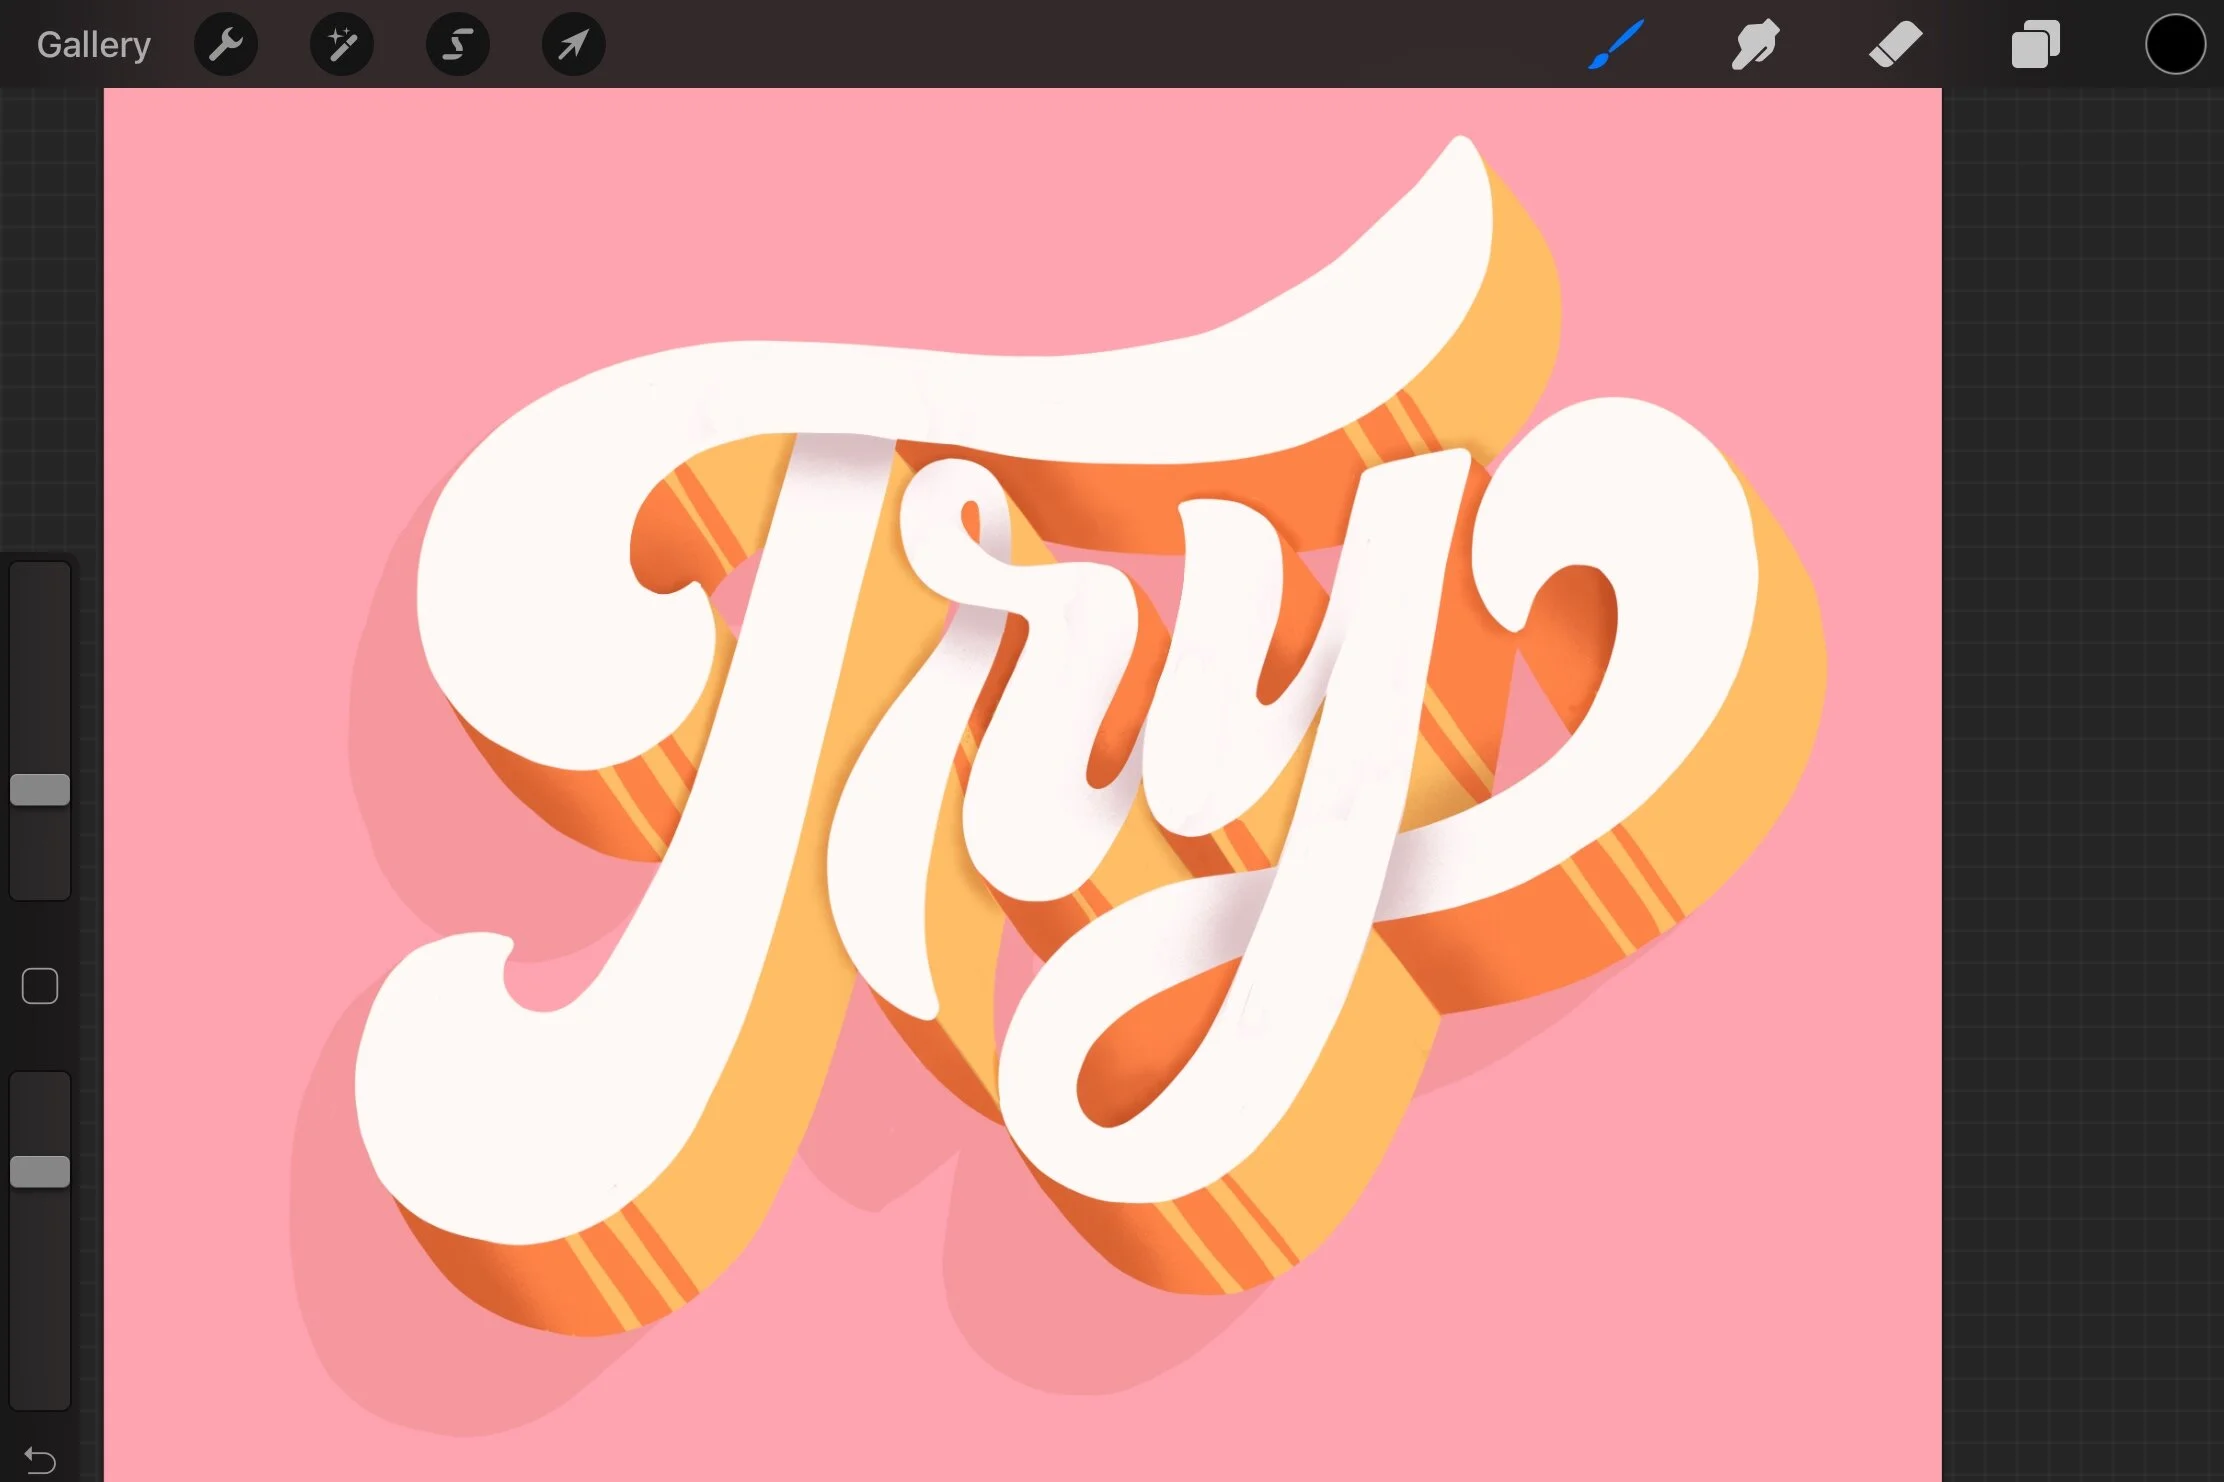
Step 7: Add final touch
Add line details on text. Add sparkles on the background.
You made it to the end. Yayyy, awesome job! 👍 Don’t forget to tag me on IG @misshuyendinh so I can see your beautiful creation 💕.

👇 If you find this tutorial useful, pin me to bookmark it. 👇